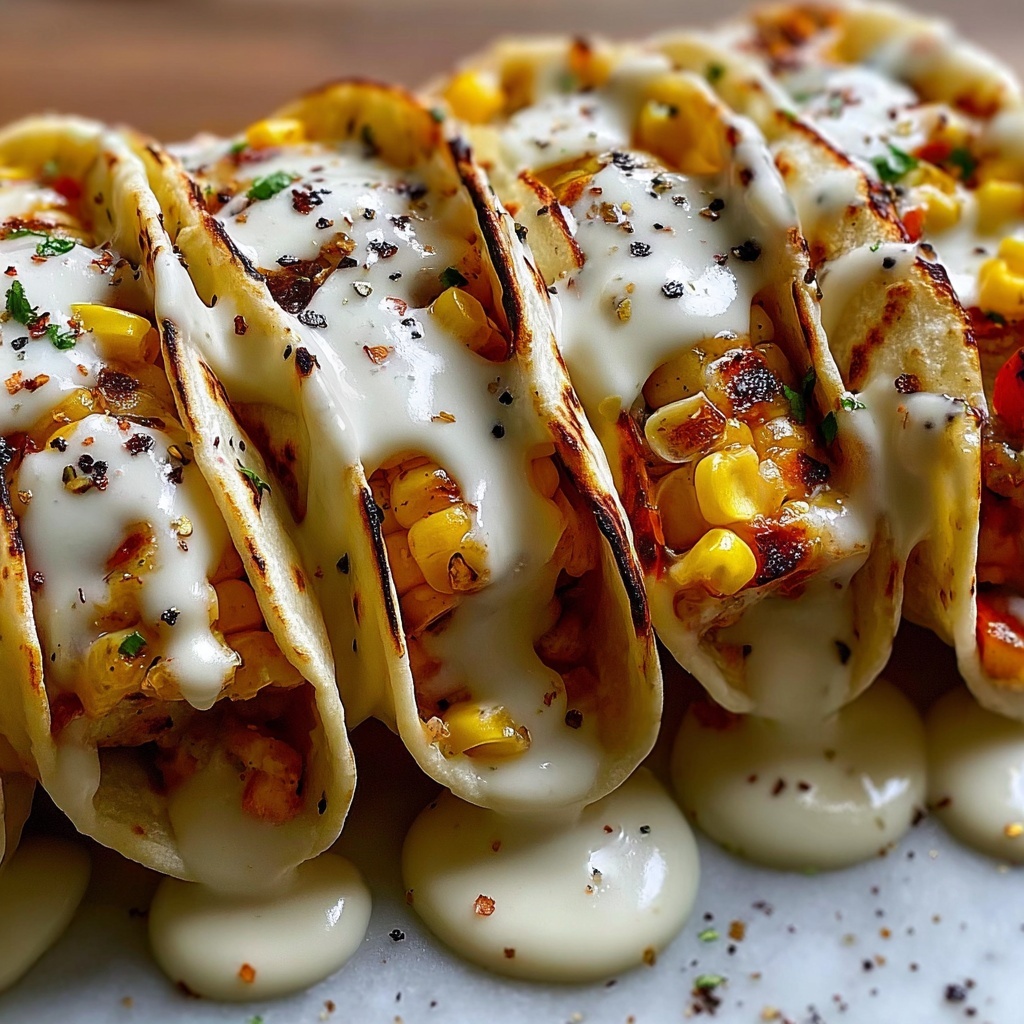
If you are craving a meal that is bursting with flavor, easy to prepare, and perfect for sharing, look no further than this Garlic Chicken Wraps Recipe. These wraps combine tender, garlicky chicken with vibrant vegetables, creamy avocado, and a hint of spice, all wrapped up in soft flour tortillas. It’s the kind of dish that feels like a warm hug and a fiesta for your taste buds all at once. Whether you’re packing lunch, hosting friends, or just want a quick dinner that doesn’t sacrifice taste, these wraps deliver big-time on every front.
Ingredients You’ll Need
Each ingredient in this Garlic Chicken Wraps Recipe plays a vital role in creating layers of savory goodness, from the juicy chicken to the crisp peppers, and the creamy avocado that adds contrast and texture. Simple yet thoughtfully chosen ingredients make these wraps a standout meal that’s as colorful as it is delicious.
- 1.5 lbs boneless, skinless chicken breasts: Provides lean protein and a tender base for the wrap flavors to shine.
- 1/4 cup olive oil: Helps marinate and cook the chicken, adding richness and moisture.
- 4 cloves garlic, minced: Delivers that signature punch of fragrant, zesty flavor essential to the dish.
- 1 teaspoon dried oregano: Adds earthiness and a Mediterranean touch to the seasoning blend.
- 1 teaspoon dried basil: Gives a subtle sweetness that balances the garlic and spices.
- 1/2 teaspoon paprika: Brings a smoky warmth that complements the chicken beautifully.
- 1/4 teaspoon cayenne pepper (optional): Introduces a gentle heat for those who love a little kick.
- Salt and freshly ground black pepper to taste: Essential for elevating all the flavors in the marinade and the dish.
- 1 large onion, thinly sliced: Adds sweetness and a tender crunch once sautéed.
- 1 red bell pepper, thinly sliced: Offers a sweet, juicy pop of color and texture.
- 1 green bell pepper, thinly sliced: Provides a fresh, slightly bitter balance to the red pepper’s sweetness.
- 1 (15 ounce) can black beans, rinsed and drained: Adds protein, fiber, and hearty texture to the filling.
- 1 (15 ounce) can corn, drained: Gives a natural sweetness and bursts of juicy flavor.
- 1 cup shredded Monterey Jack cheese: Melts smoothly for creamy, cheesy goodness inside the wrap.
- 1 avocado, diced: Brings luscious creaminess and a mild, buttery flavor.
- 1/4 cup chopped cilantro: Lends a bright, herbaceous freshness to finish the wraps.
- 12 large flour tortillas: Soft, pliable, and perfect for holding all that delicious filling together.
- Sour cream or Greek yogurt (optional, for serving): Adds cool tang and balances the spices.
- Salsa (optional, for serving): Provides a zesty, spicy kick that pairs beautifully with the wraps.
How to Make Garlic Chicken Wraps Recipe
Step 1: Create the Flavorful Marinade
Begin by whisking together the olive oil, minced garlic, oregano, basil, paprika, cayenne pepper if you’re feeling adventurous, plus salt and freshly ground black pepper. This marinade is what transforms simple chicken breasts into a flavor-packed protein that bursts with garlicky warmth in every bite.
Step 2: Marinate the Chicken
Place the bite-sized chicken pieces into the marinade and toss until every piece is well coated. Marinate for at least 30 minutes to allow the flavors to penetrate deeply, or even longer if you can, to get the maximum savory impact.
Step 3: Cook the Chicken
Heat a large skillet over medium-high heat. Cook the marinated chicken, turning occasionally, until it is browned and cooked through—this usually takes about 8 to 10 minutes. The caramelization you get here adds a beautiful depth of flavor and texture. Once cooked, set the chicken aside safely while you prepare your veggies.
Step 4: Sauté the Vegetables
In the same skillet, toss in the sliced onions and bell peppers. Cooking these until they are slightly charred and softened takes about 5 to 7 minutes, adding sweetness and a little smoky complexity. Once they have the perfect tender-crisp texture, stir in the rinsed black beans and drained corn, cooking everything for another 2 to 3 minutes to marry the flavors and heat through.
Step 5: Warm the Tortillas
Follow package instructions to warm the tortillas — this makes them more pliable and easier to roll while enhancing their softness and flavor. Warm tortillas are key to preventing breaks and making the wraps sturdy enough to hold all that goodness.
Step 6: Assemble Your Garlic Chicken Wraps Recipe
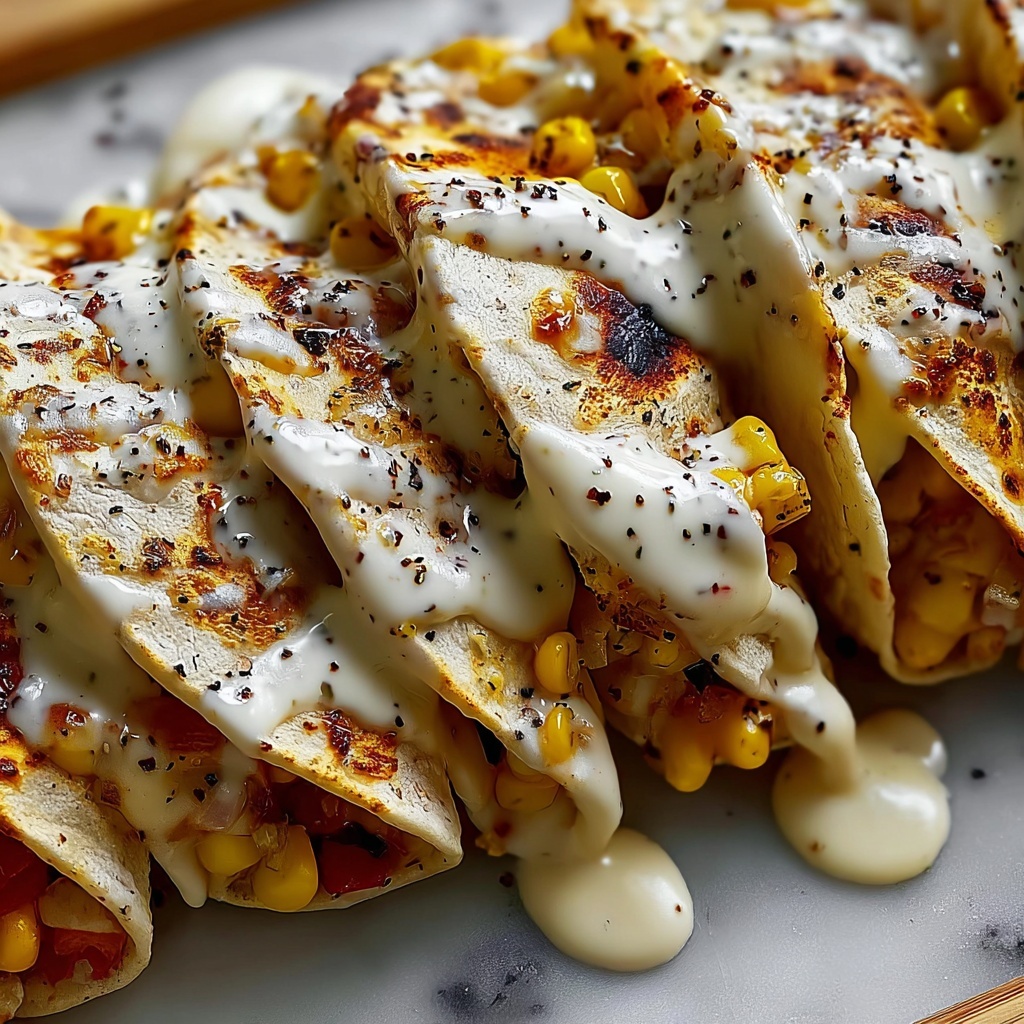
Lay each warmed tortilla flat, and optionally spread a thin layer of sour cream or Greek yogurt for a creamy base. Add a generous spoonful of the cooked chicken and vegetable mixture, then sprinkle with shredded Monterey Jack cheese. Top with diced avocado and a sprinkle of fresh cilantro for that final burst of freshness and color. Fold the sides inward and roll tightly to secure everything inside.
How to Serve Garlic Chicken Wraps Recipe

Garnishes
For garnishes, a dollop of sour cream or a spoonful of your favorite salsa on the side can add creaminess or a zing of spice. Extra cilantro, sliced jalapeños, or a squeeze of fresh lime juice can also brighten up each bite and make the colors pop on your serving plate.
Side Dishes
Pair your Garlic Chicken Wraps Recipe with a crisp green salad, Mexican-style rice, or crunchy tortilla chips to create a well-rounded meal. A side of black bean salad or guacamole fits perfectly and keeps the meal fresh and vibrant without being heavy.
Creative Ways to Present
For a fun twist, try cutting the wraps in half on a diagonal and stacking them in a basket lined with parchment paper — perfect for casual gatherings or lunchboxes. You can also serve them deconstructed, with bowls of each component for guests to build their own wraps, adding a playful and interactive element to mealtime.
Make Ahead and Storage
Storing Leftovers
Leftover chicken and vegetable filling can be stored in an airtight container in the refrigerator for up to 3 days. Keep tortillas separate to maintain their softness and prevent sogginess. When ready to eat, assemble the wraps fresh for best texture and flavor.
Freezing
You can freeze the cooked chicken and veggie mixture in portions inside freezer-safe bags or containers for up to 2 months. Avoid freezing assembled wraps with avocado, as it does not freeze well and can become mushy upon thawing.
Reheating
When reheating, gently warm the chicken and veggies in a skillet or microwave until heated through. Warm the tortillas separately. Once everything is warmed, assemble your Garlic Chicken Wraps Recipe fresh for a satisfying meal that tastes freshly made.
FAQs
Can I use chicken thighs instead of chicken breasts?
Absolutely! Boneless, skinless chicken thighs can add extra juiciness and richness to the wraps. Just adjust the cooking time accordingly since thighs can take slightly longer to cook through.
Is it possible to make this recipe vegan or vegetarian?
Yes! Substitute the chicken with sautéed mushrooms, tofu, or tempeh, and swap the cheese for a plant-based alternative. The black beans, corn, and vegetables will still provide plenty of flavor and heartiness.
How spicy are the Garlic Chicken Wraps Recipe?
The spice level is mild by default, thanks to paprika and optional cayenne pepper. You can leave out the cayenne for a gentler heat or add more if you want it spicier. Fresh jalapeño slices or hot sauce on the side also allow for customization.
Can I prepare this recipe ahead of time for a party?
Yes! Marinate the chicken and chop the veggies in advance, then cook everything on the day of the event. You can also prepare the filling earlier and warm it before assembling the wraps to save time during your gathering.
What toppings can I add for extra crunch?
Consider adding shredded lettuce, sliced radishes, or crispy fried onions for an extra layer of texture and freshness. These toppings complement the creamy avocado and tender chicken nicely.
Final Thoughts
Giving this Garlic Chicken Wraps Recipe a try is like unlocking a new favorite that quickly becomes a go-to for busy weeknights or fun gatherings. The harmony of flavors, textures, and colors makes each bite satisfying and exciting, while the simple ingredients and straightforward steps mean you can enjoy this tasty dish without hassle. Serve these wraps up at your next meal and watch everyone ask for seconds!
Print
Garlic Chicken Wraps Recipe
- Prep Time: 35 minutes
- Cook Time: 20 minutes
- Total Time: 1 hour 15 minutes
- Yield: 12 servings
- Category: Main Course
- Method: Frying
- Cuisine: American
Description
These Garlic Chicken Wraps are a flavorful and easy-to-make meal featuring tender marinated chicken, sautéed bell peppers and onions, black beans, and corn, all wrapped in warm flour tortillas. Topped with creamy avocado, melted Monterey Jack cheese, and fresh cilantro, these wraps are perfect for a quick lunch or dinner that satisfies the whole family.
Ingredients
Chicken Marinade
- 1.5 lbs boneless, skinless chicken breasts, cut into bite-sized pieces
- 1/4 cup olive oil
- 4 cloves garlic, minced
- 1 teaspoon dried oregano
- 1 teaspoon dried basil
- 1/2 teaspoon paprika
- 1/4 teaspoon cayenne pepper (optional)
- Salt and freshly ground black pepper to taste
Vegetables & Beans
- 1 large onion, thinly sliced
- 1 red bell pepper, thinly sliced
- 1 green bell pepper, thinly sliced
- 1 (15 ounce) can black beans, rinsed and drained
- 1 (15 ounce) can corn, drained
Additional Ingredients & Garnishes
- 1 cup shredded Monterey Jack cheese
- 1 avocado, diced
- 1/4 cup chopped cilantro
- 12 large flour tortillas
- Sour cream or Greek yogurt (optional, for serving)
- Salsa (optional, for serving)
Instructions
- Prepare the marinade: In a large bowl, whisk together olive oil, minced garlic, oregano, basil, paprika, cayenne pepper (if using), salt, and pepper to create a flavorful marinade for the chicken.
- Marinate the chicken: Add the bite-sized chicken pieces to the marinade and toss thoroughly until evenly coated. Allow the chicken to marinate for at least 30 minutes to absorb the flavors; longer marination will enhance taste.
- Cook the chicken: Heat a large skillet or wok over medium-high heat. Add the marinated chicken and cook, stirring occasionally, until it’s fully cooked through and browned, about 8 to 10 minutes. Remove the chicken from the skillet and set aside.
- Sauté vegetables: In the same skillet, add the sliced onions and bell peppers. Cook until they are softened and slightly charred, about 5 to 7 minutes, developing a nice depth of flavor.
- Add beans and corn: Stir in the rinsed black beans and drained corn, cooking for another 2 to 3 minutes until heated through and well combined with the vegetables.
- Warm the tortillas: Heat the flour tortillas according to the package instructions to make them pliable and soft for rolling.
- Assemble the wraps: Optionally spread a thin layer of sour cream or Greek yogurt on each tortilla. Then, evenly distribute the cooked chicken and vegetable mixture onto each wrap.
- Add toppings: Sprinkle shredded Monterey Jack cheese over the filling, then top with diced avocado and chopped cilantro for freshness and creaminess.
- Wrap and serve: Fold the sides of the tortilla inward and roll tightly to enclose the filling securely. Serve immediately with optional salsa on the side for dipping or added zest.
Notes
- For a spicier wrap, increase the cayenne pepper or add a dash of hot sauce to the marinade.
- Substitute corn tortillas for a gluten-free option.
- Leftover filling can be refrigerated for up to 3 days and used as a filling for tacos or salads.
- To make it vegetarian, omit the chicken and add extra beans or grilled vegetables.

