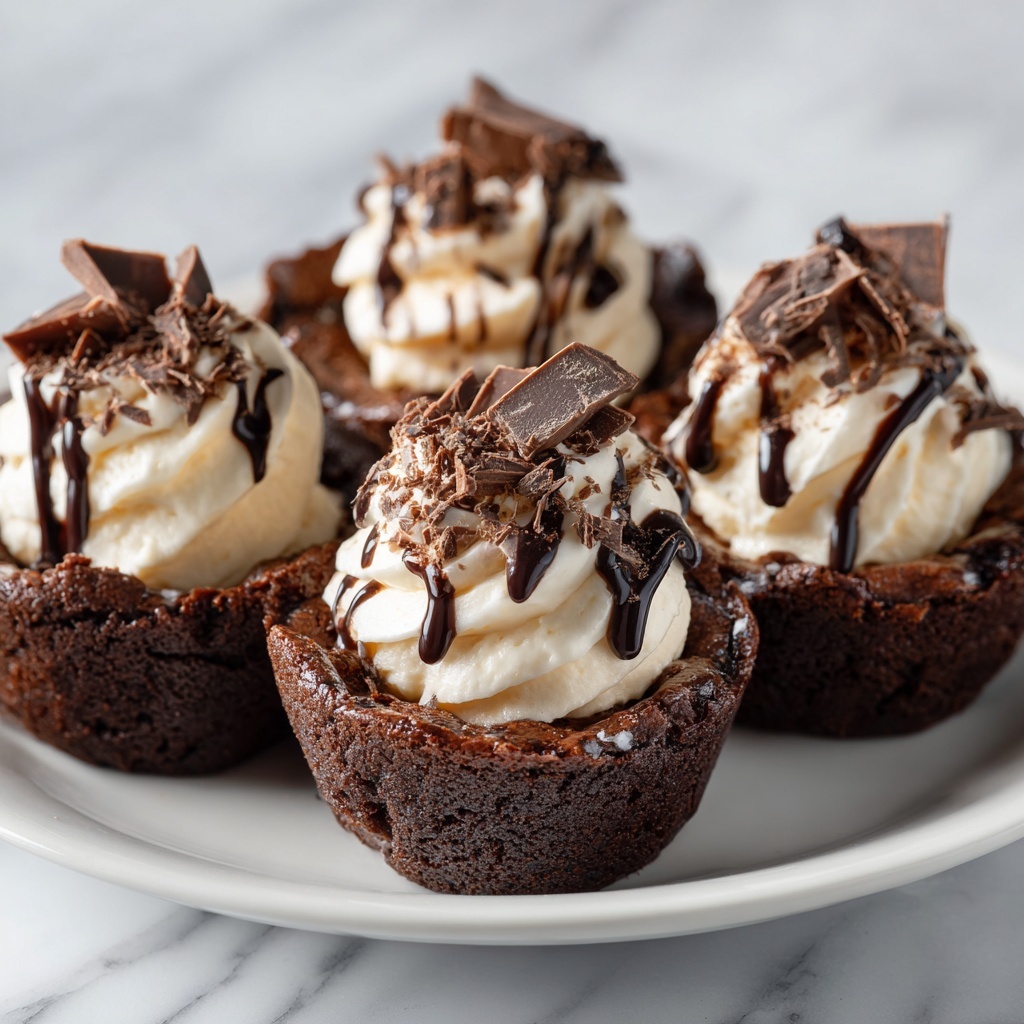
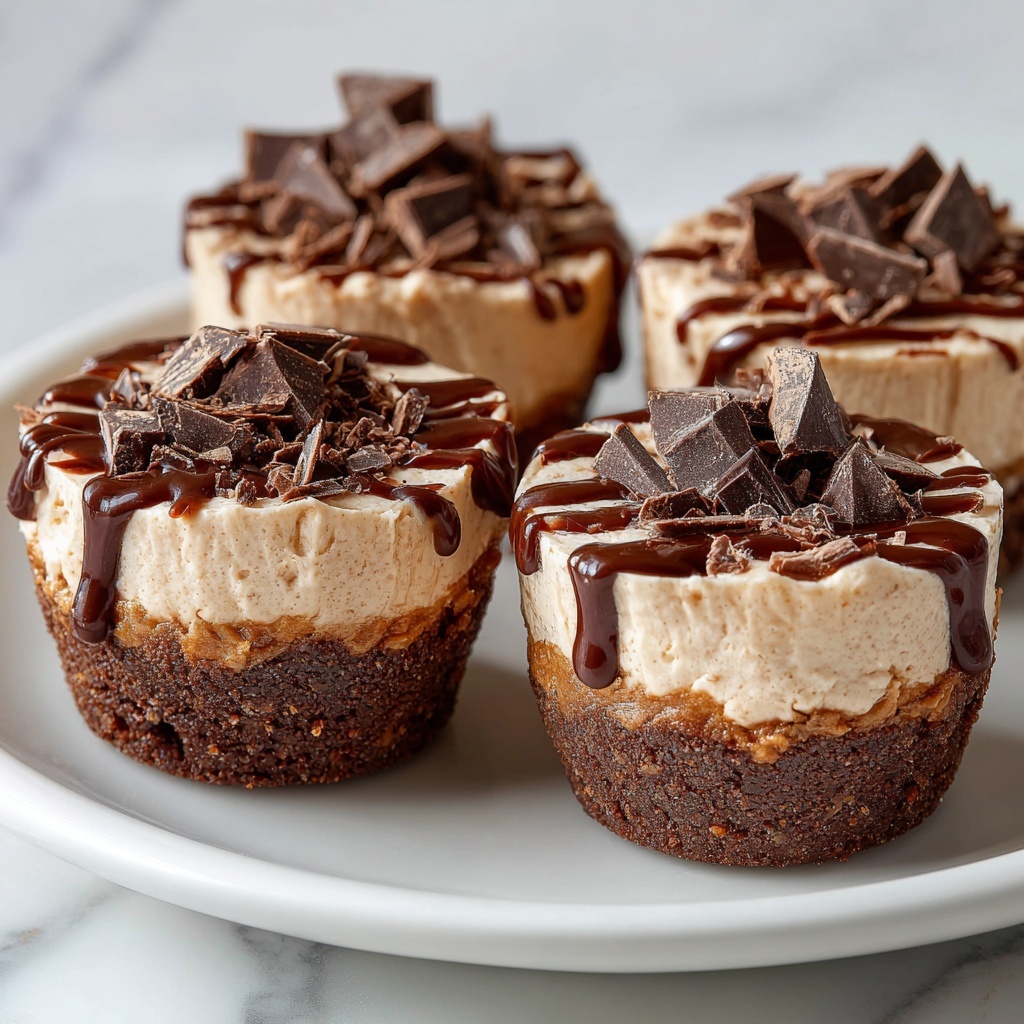
If you have a soft spot for rich, indulgent desserts, then you are going to absolutely adore this Brownie Cheesecake Cups Recipe. Picture a fudgy brownie base layered with creamy, tangy cheesecake, all packed into perfectly portioned little cups. These are the kind of treats that make any gathering feel extra special or transform an ordinary day into a celebration. Whether for a party, holiday, or just because you’re craving something heavenly, this recipe is your go-to for luscious, handheld delights that never disappoint.
Ingredients You’ll Need
This Brownie Cheesecake Cups Recipe calls for simple, everyday ingredients that come together to create an extraordinary blend of flavors and textures. Each component is key to achieving the perfect balance between rich chocolate and creamy cheesecake, so make sure to use quality staples for the best results.
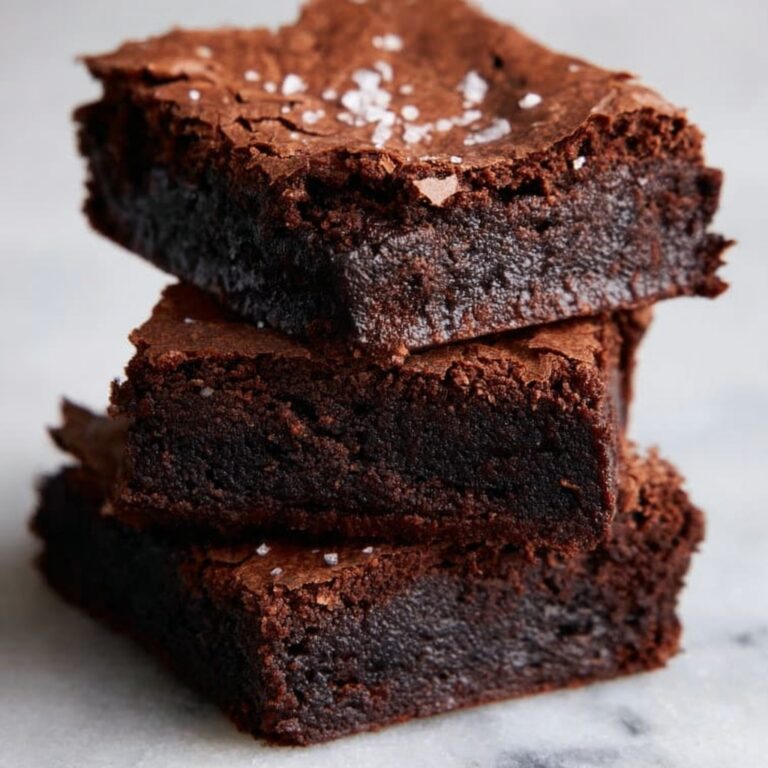
- Butter (1/2 cup, melted): Adds moisture and richness to the brownie base for that fudgy texture.
- Sugar (1 cup): Sweetens and caramelizes the brownie layer to perfection.
- Large eggs (2): Bind the batter and provide structure to the brownies.
- Vanilla extract (1 teaspoon): Enhances the overall flavor with warm, aromatic notes.
- All-purpose flour (3/4 cup): Forms the base of the brownie; almond or gluten-free flours work well for dietary adjustments.
- Unsweetened cocoa powder (1/3 cup): Delivers that unmistakable deep chocolate flavor.
- Chocolate chips or chunks (1/2 cup, optional): Boosts the chocolate intensity and adds satisfying melty pockets.
- Cream cheese (8 oz, softened): Creates the luscious cheesecake layer with just the right tanginess.
- Sugar (1/3 cup for cheesecake layer): Sweetens the cream cheese filling smoothly without overpowering.
- Large egg (1 for cheesecake layer): Helps the cheesecake set with a silky, firm texture.
- Vanilla extract (1 teaspoon for cheesecake layer): Rounds out the cheesecake flavor beautifully.
- Sour cream or heavy cream (2 tablespoons, optional): Adds creaminess and tenderness to the cheesecake layer.
- Chopped walnuts or pecans: Provide a crunchy contrast when sprinkled on top.
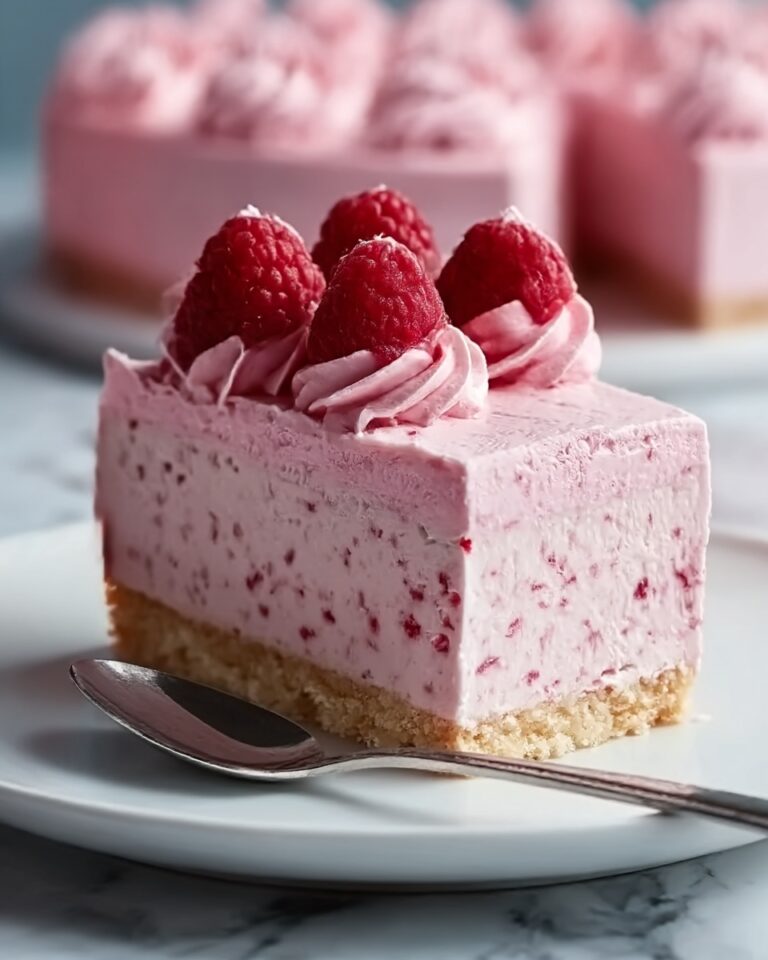
- Fresh raspberry or strawberry puree: Adds a bright, fruity tang that balances the dessert’s richness.
- Salted caramel sauce (homemade or store-bought): A decadent drizzle that elevates the flavors.
- Fresh berries, powdered sugar, chocolate or caramel drizzle, crushed nuts: Delightful finishing touches for an eye-catching presentation.
How to Make Brownie Cheesecake Cups Recipe
Step 1: Prepare the Brownie Batter
Start by preheating your oven to 325°F (160°C). In a medium mixing bowl, combine the melted butter with sugar, beating until the mixture is smooth and glossy. Then, add the eggs one at a time, blending well after each addition. Stir in the vanilla extract, infusing the batter with warmth. Sift together the flour and cocoa powder to ensure no lumps, then gently fold these dry ingredients into the wet mixture just until combined. For an extra chocolate hit, fold in those optional chocolate chips. This batter will be dense and rich, the perfect base for your brownie cheesecake cups.
Step 2: Make the Cheesecake Layer
In a separate bowl, beat the softened cream cheese until it’s silky and free of lumps. Gradually add sugar, the large egg, and vanilla extract, mixing until creamy and slightly thickened. If you prefer, blend in the sour cream or heavy cream for an even smoother texture. This mixture should hold its shape on top of the brownie layer but remain soft enough to enjoy that classic cheesecake creaminess.
Step 3: Assemble the Cups
Line a cupcake pan with muffin liners or generously grease each cup to prevent sticking. Spoon about two tablespoons of brownie batter into the bottom of each cup, creating an even base. Follow with the same amount of cheesecake mixture on top of each brownie portion. For an artistic flourish, swirl the layers gently using a toothpick or skewer, creating a marbled effect that looks as stunning as it tastes.
Step 4: Bake and Chill
Place the pan in your preheated oven and bake for 20 to 25 minutes. You’re aiming for a cheesecake layer that’s set but still jiggles slightly when you gently shake the pan—overbaking will dry out these delightful cups. Once baked, let them cool completely in the pan before transferring to the refrigerator to chill for at least two hours. This step allows the flavors to meld and the layers to firm up perfectly for serving.
Step 5: Serve and Enjoy
After chilling, gently remove the cups from their liners if used. Now it’s time to get creative with your garnishes! Whether you opt for fresh berries, a light dusting of powdered sugar, or drizzles of rich caramel or chocolate sauce, these touches will make your Brownie Cheesecake Cups Recipe even more irresistible.
How to Serve Brownie Cheesecake Cups Recipe

Garnishes
Garnishing these cups is half the fun. I love topping them with fresh berries like raspberries or strawberries to add a burst of tangy freshness. A sprinkle of powdered sugar adds a lovely delicate sweetness and a pop of pretty white contrast. If you want to impress guests, a drizzle of homemade or store-bought salted caramel or melted chocolate makes each bite decadent. Crushed nuts like walnuts or pecans add that unexpected crunch and an earthy note that pairs beautifully with the creamy cheesecake.
Side Dishes
This dessert holds its own wonderfully, but if you want to round out your menu, pair these brownie cheesecake cups with a scoop of vanilla ice cream or a dollop of freshly whipped cream. Their lightness complements the richness perfectly. Fresh fruit salad or a crisp green salad with a citrus vinaigrette can provide a refreshing counterpoint, balancing the indulgence with brightness.
Creative Ways to Present
For parties or special occasions, you can place each brownie cheesecake cup in a decorative mini cupcake wrapper or serve them on petite dessert plates with a fork and a small spoon of fruit puree on the side. Another fun idea is to layer these cups in a glass trifle dish with additional layers of berries and whipped cream for a stunning visual effect that tastes just as amazing. Personalized garnishes like edible flowers or a sprinkle of crushed toffee can elevate your presentation even further.
Make Ahead and Storage
Storing Leftovers
Leftover brownie cheesecake cups can be stored in an airtight container in the refrigerator for up to 4 days. Keep them chilled to maintain the cheesecake’s creamy texture and the brownie’s fudginess. Always cover them well so they don’t absorb other fridge odors.
Freezing
If you want to prepare these in advance, you can freeze the cups. Place them on a baking sheet and freeze until solid, then transfer into a freezer-safe container or bag. They will keep for up to 2 months. When ready to enjoy, thaw in the refrigerator overnight to retain their perfect texture.
Reheating
Since this is a chilled dessert, reheating isn’t necessary—or recommended—as it could alter the texture of the cheesecake layer. Instead, let frozen cups thaw slowly in the fridge and enjoy them cold or at room temperature for the best flavor and consistency.
FAQs
Can I make this recipe gluten-free?
Absolutely! Simply swap out the all-purpose flour for your preferred gluten-free or almond flour. Just be sure to use a blend that measures cup-for-cup to keep the batter consistency just right.
What if I want to make these dairy-free or vegan?
You can use plant-based cream cheese and vegan butter alternatives. Additionally, ensure your chocolate chips are dairy-free, and substitute eggs with flax eggs or commercial egg replacers suitable for baking. The texture may be slightly different but still delicious!
How do I know when the cheesecake layer is done baking?
The cheesecake layer should look set around the edges but still jiggle slightly in the center when you gently shake the pan. It will firm up fully once chilled, so avoid overbaking to keep it moist and creamy.
Can I prepare these cups ahead of a party?
Yes! These brownie cheesecake cups are fantastic made a day or two in advance. Just bake, chill thoroughly, and add your garnishes right before serving for the freshest look and taste.
Is there a way to make these cups less sweet?
Definitely. You can reduce the sugar slightly in both the brownie and cheesecake layers, but keep in mind that it may affect the texture slightly. Pairing them with tart berries or a splash of fruit puree also helps balance sweetness naturally.
Final Thoughts
This Brownie Cheesecake Cups Recipe truly feels like a hug in dessert form. From the fudgy chocolate base to the luxuriously creamy cheesecake top, every bite delivers pure joy. It’s a recipe that’s as fun to make as it is to share, and I promise it will become one of your most treasured treats. So grab your ingredients, gather your loved ones, and get ready to indulge in these little cups of bliss.
Print
Brownie Cheesecake Cups Recipe
- Prep Time: 20 minutes
- Cook Time: 25 minutes
- Total Time: 2 hours 45 minutes
- Yield: 12 servings
- Category: Dessert
- Method: Baking
- Cuisine: American
- Diet: Gluten Free
Description
Delight in these luscious Brownie Cheesecake Cups, a perfect combination of rich chocolate brownie and creamy cheesecake baked into individual servings. Ideal for parties or a decadent treat, these cups feature a fudgy brownie base topped with a smooth cheesecake layer, optionally swirled together for a marbled effect and garnished with berries, nuts, and drizzles of chocolate or caramel.
Ingredients
Brownie Base
- 1/2 cup (115g) butter, melted
- 1 cup (200g) sugar
- 2 large eggs
- 1 teaspoon vanilla extract
- 3/4 cup (95g) all-purpose flour (or almond/gluten-free flour for gluten-free option)
- 1/3 cup (35g) unsweetened cocoa powder
- 1/2 cup chocolate chips or chunks (optional)
Cheesecake Layer
- 8 oz (225g) cream cheese, softened (regular, low-fat, or plant-based for vegan)
- 1/3 cup (67g) sugar
- 1 large egg
- 1 teaspoon vanilla extract
- 2 tablespoons sour cream or heavy cream (optional)
Garnishes (Optional)
- Chopped walnuts or pecans
- Fresh raspberry or strawberry puree
- Homemade or store-bought salted caramel sauce
- Fresh berries
- Powdered sugar
- Chocolate or caramel drizzle
- Crushed nuts
Instructions
- Prepare the brownie batter: Preheat your oven to 325°F (160°C). In a mixing bowl, cream together the melted butter and sugar until smooth and well combined. Beat in the eggs one at a time to ensure an even texture, then mix in the vanilla extract. Sift together the flour and cocoa powder to avoid lumps, then gradually fold these dry ingredients into the wet mixture until just combined. If desired, fold in chocolate chips to add extra richness to your brownies.
- Make the cheesecake layer: In a separate bowl, beat the softened cream cheese until smooth and fluffy using a hand mixer or stand mixer. Add the sugar, egg, vanilla extract, and sour cream or heavy cream if using, then mix thoroughly until the mixture becomes creamy with a slightly thick consistency that will hold its shape over the brownie base during baking.
- Assemble the cups: Line a cupcake pan with muffin liners or lightly grease the pan to prevent sticking. Spoon about two tablespoons of the brownie batter into each cup creating an even base. Then, layer a similar amount of the cheesecake mixture on top of each brownie portion. Optionally, gently swirl the top layers together with a toothpick or skewer to create a marbled decorative effect without blending completely.
- Bake: Place the pan in the preheated oven and bake for 20 to 25 minutes. Bake until the cheesecake layer is set but still has a slight jiggle in the center, which indicates it is moist and creamy inside. Avoid overbaking as this can dry out the cups and toughen the texture.
- Cool and chill: Allow the baked brownie cheesecake cups to cool completely in the pan on a wire rack. Once cooled, transfer them to the refrigerator and chill for at least two hours to fully set and develop the best flavor and texture.
- Serve and garnish: After chilling, carefully remove the cups from their liners if used. Garnish each with fresh berries, a dusting of powdered sugar, drizzles of chocolate or salted caramel sauce, and a sprinkle of chopped nuts. These cups can be enjoyed on their own or paired beautifully with vanilla ice cream or whipped cream for an indulgent dessert experience.
Notes
- For a gluten-free version, substitute all-purpose flour with almond or gluten-free flour blend.
- Use low-fat or plant-based cream cheese and sour cream to accommodate dietary preferences like vegan or lower fat options.
- Swirling the brownie and cheesecake layers is optional but adds an attractive marbled look and flavor variation.
- Chilling the cups for at least two hours is essential for the cheesecake layer to set properly.
- Store leftovers refrigerated in an airtight container for up to 4 days.
- Before serving, bring to room temperature for best flavor and creamy texture.

