
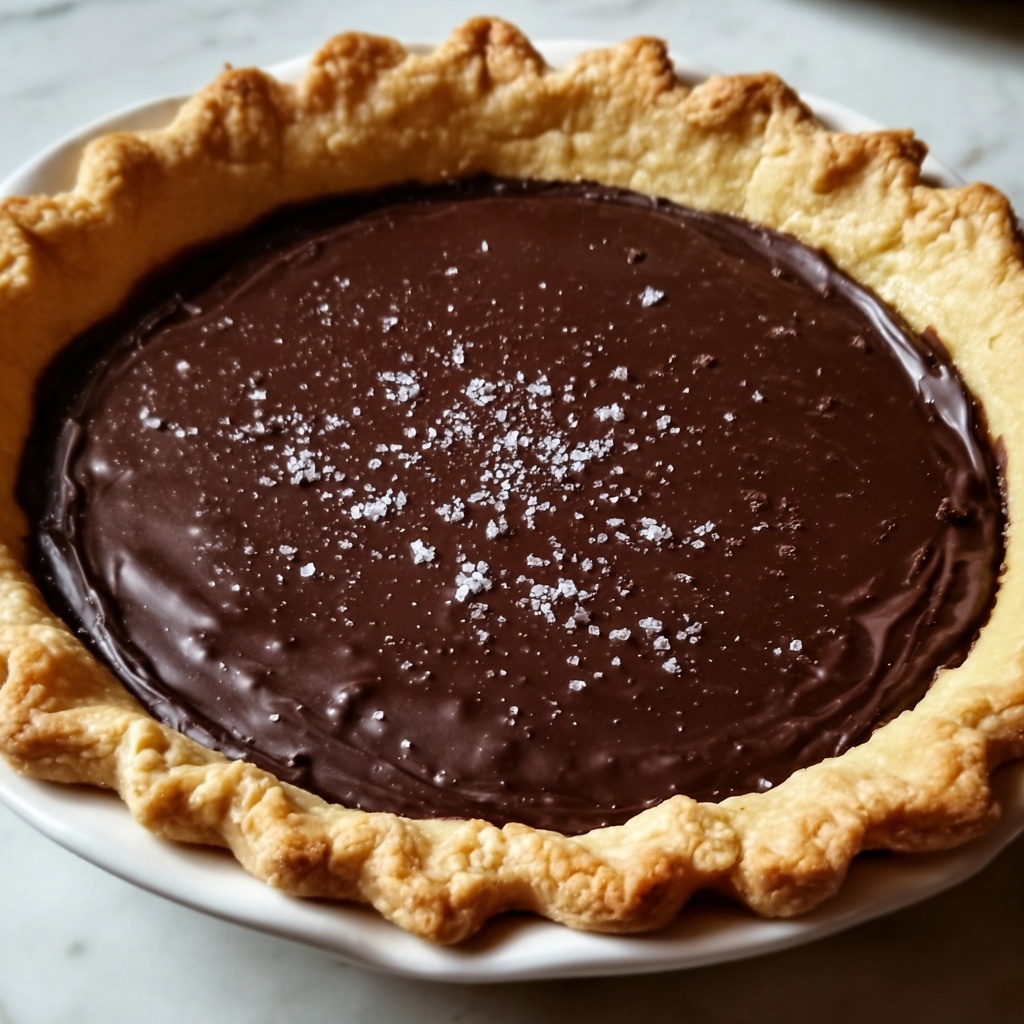
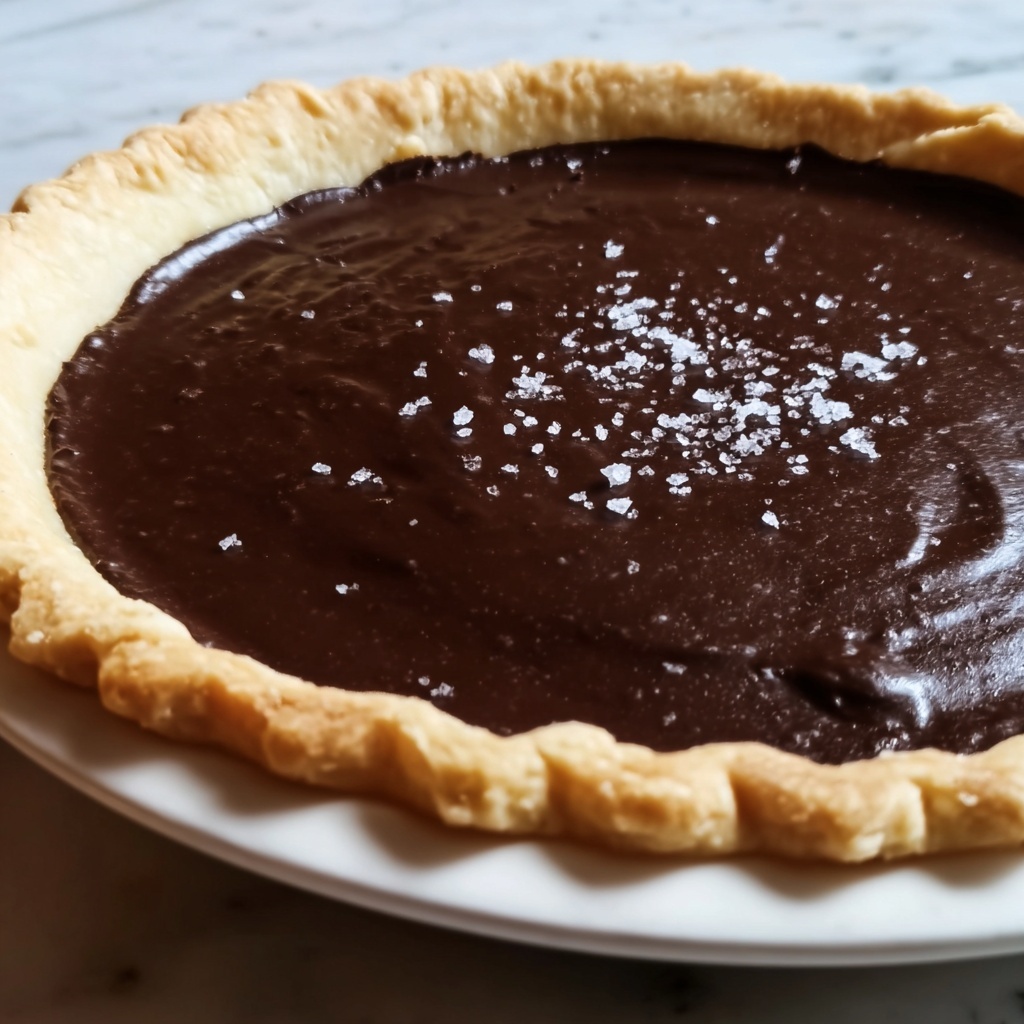
If you have a soft spot for timeless desserts that bring back memories of cozy family gatherings, you are going to fall in love with Grandma’s Classic Chocolate Pie Recipe. This nostalgic treat is a luscious, silky chocolate pie that captures the essence of old-fashioned comfort with every bite. Rich cocoa, velvety filling, and a perfectly crisp crust come together effortlessly to create a dessert that feels like a warm hug from grandma herself. Whether you’re a seasoned baker or just starting out, this pie is sure to become one of your all-time favorite recipes to share and savor.
Ingredients You’ll Need
Don’t let the simplicity of these ingredients fool you—each one plays a vital role in crafting the rich flavor and creamy texture of Grandma’s Classic Chocolate Pie Recipe. From the smooth cocoa to the silky egg yolks, these staples are key to making this pie turn out just right every time.
- ½ cup cocoa: Provides that deep, chocolatey flavor essential for the filling’s richness.
- ¼ cup cornstarch: Acts as the thickening agent to give the filling its luscious, pudding-like consistency.
- 3 egg yolks: Adds creaminess and helps the filling set with a velvety texture.
- 1 ½ cups sugar: Balances the bitterness of the cocoa with the perfect amount of sweetness.
- ¼ teaspoon salt: Enhances all the flavors, making the chocolate taste even more vibrant.
- 2 cups milk: The liquid base that blends everything together for a smooth, creamy finish.
- 1 teaspoon vanilla: Adds warmth and depth, rounding out the chocolate notes beautifully.
How to Make Grandma’s Classic Chocolate Pie Recipe
Step 1: Mix the Ingredients
Start by combining cocoa, cornstarch, beaten egg yolks, sugar, salt, and vanilla in a saucepan. Gradually add the milk while stirring to ensure the mixture is smooth and well integrated. This slow addition is crucial to prevent lumps and to blend the ingredients harmoniously from the very beginning.
Step 2: Cook the Filling
Place the saucepan over medium-high heat and stir continuously as the mixture warms up. Keep your spoon moving—it’s important to avoid any lumps and to encourage even thickening. In just a few minutes, you’ll witness the transformation as the filling thickens into that wonderfully creamy texture everyone loves. This step requires a bit of attention, but it’s where the magic happens!
Step 3: Pour Into the Pie Shell
Once your filling has reached the ideal thickness, pour it carefully into a pre-baked pie shell. A ready pie shell will give you the perfect crisp base that contrasts beautifully with the smooth chocolate filling.
Step 4: Chill the Pie
Let the pie rest for a few minutes at room temperature, allowing it to cool down before transferring it to the fridge. Chill the pie for about two hours to allow the filling to set properly, sculpting that picture-perfect slice you’ll be proud to serve.
Step 5: Serve
After chilling, slice your masterpiece and serve. While this pie is stunning on its own, topping it with a dollop of freshly whipped cream or a cloud of airy meringue takes it to a whole new level of deliciousness. You’re ready for some serious compliments!
How to Serve Grandma’s Classic Chocolate Pie Recipe
Garnishes
Enhance your pie with simple and elegant garnishes like whipped cream, shaved chocolate, or a sprinkle of toasted nuts for extra texture. A few fresh raspberries on top add a pop of color and a hint of tartness to balance the rich chocolate filling perfectly.
Side Dishes
This pie pairs beautifully with light, refreshing sides such as a crisp green salad or fresh fruit to lighten the indulgence. For cozy occasions, a scoop of vanilla ice cream on the side is pure bliss and brings out the pie’s creamy depth.
Creative Ways to Present
Impress your guests by serving in individual mini pie dishes or topping each slice with a decorative swirl of chocolate ganache. You can also dust the top with a little powdered sugar or cocoa for a classic café-style finish that looks as good as it tastes.
Make Ahead and Storage
Storing Leftovers
Any leftovers from Grandma’s Classic Chocolate Pie Recipe can be stored covered in the refrigerator for up to 3 days. Keeping it chilled maintains the filling’s smooth texture and prevents the crust from becoming soggy.
Freezing
While this pie is best enjoyed fresh, you can freeze slices wrapped tightly in plastic wrap and foil for up to one month. Thaw them overnight in the fridge for a dessert that almost tastes freshly made.
Reheating
Reheating this pie isn’t usually necessary as it’s delicious chilled, but if you prefer a slightly warmer dessert, allow it to sit at room temperature for 15 to 20 minutes before serving. Avoid microwaving to prevent altering the texture.
FAQs
Can I use a store-bought pie crust for Grandma’s Classic Chocolate Pie Recipe?
Absolutely! Using a store-bought pre-baked crust is a great time-saver and works wonderfully with this recipe. Just make sure it’s fully baked and cooled before adding the filling.
What can I substitute if I don’t have cornstarch?
You can use an equal amount of all-purpose flour as a thickener, though the texture might be slightly less silky. Cornstarch really shines in giving that smooth, pudding-like consistency.
Is it possible to make this pie vegan?
This recipe relies on egg yolks and dairy, so it’s tricky to convert directly. To make a vegan version, you’ll want to look for specialized chocolate pudding recipes or use plant-based milks and egg replacers.
Can I add more chocolate to make it richer?
Yes! Incorporating a handful of finely chopped dark chocolate into the hot filling once it’s off the heat will add extra depth and richness, melting into the smooth mix beautifully.
How long does it take for the pie filling to set?
The filling typically needs about 2 hours in the fridge to firm up completely, giving it the perfect sliceable texture that holds its shape well.
Final Thoughts
There is something truly heartwarming about baking and sharing Grandma’s Classic Chocolate Pie Recipe. It’s a timeless dessert that brings joy and comfort no matter the occasion. I encourage you to try this recipe soon—once you do, it will surely become a treasured part of your own family tradition, just like it was for Grandma.
Print
Grandma’s Classic Chocolate Pie Recipe
- Prep Time: 10 minutes
- Cook Time: 14 minutes
- Total Time: 24 minutes plus 2 hours chilling time
- Yield: 8 servings
- Category: Dessert
- Method: Stovetop
- Cuisine: American
Description
This classic Grandma’s Chocolate Pie is a rich and creamy dessert featuring a smooth chocolate custard filling set in a buttery pre-baked pie crust. Made from simple pantry ingredients like cocoa, cornstarch, and egg yolks, this pie is cooked gently on the stovetop until thickened, then chilled to perfection. It’s an easy-to-make, comforting treat that delights with deep chocolate flavor and velvety texture.
Ingredients
Filling Ingredients
- ½ cup cocoa powder
- ¼ cup cornstarch
- 3 egg yolks
- 1 ½ cups sugar
- ¼ teaspoon salt
- 2 cups milk
- 1 teaspoon vanilla extract
Additional
- 1 pre-baked pie shell
- Optional toppings: whipped cream or meringue
Instructions
- Mix the Ingredients: In a saucepan, combine the cocoa powder, cornstarch, beaten egg yolks, sugar, salt, and vanilla extract. Gradually add the milk to the mixture while stirring continuously to ensure all ingredients are well incorporated and smooth.
- Cook the Filling: Place the saucepan over medium-high heat. Stir the mixture constantly as it heats up to prevent lumps and sticking. Continue cooking until the filling thickens to a custard-like consistency—this usually takes several minutes. Keep stirring to maintain smoothness.
- Pour Into the Pie Shell: Once the chocolate filling has thickened, carefully pour it into your pre-baked pie shell, spreading evenly.
- Chill the Pie: Allow the filled pie to cool at room temperature for a few minutes. Then transfer it to the refrigerator to chill for about 2 hours, or until the filling is fully set and firm.
- Serve: After chilling, slice the pie and serve. For an extra special touch, top slices with whipped cream or a fluffy meringue if desired, although the pie is delicious as is.
Notes
- Make sure to stir constantly during cooking to prevent lumps and burning.
- Using a pre-baked pie shell is important, as the filling does not bake.
- For a richer flavor, whole milk is recommended.
- The pie can be stored covered in the refrigerator for up to 3 days.
- Optional toppings like whipped cream or meringue add texture and sweetness but are not necessary.

