
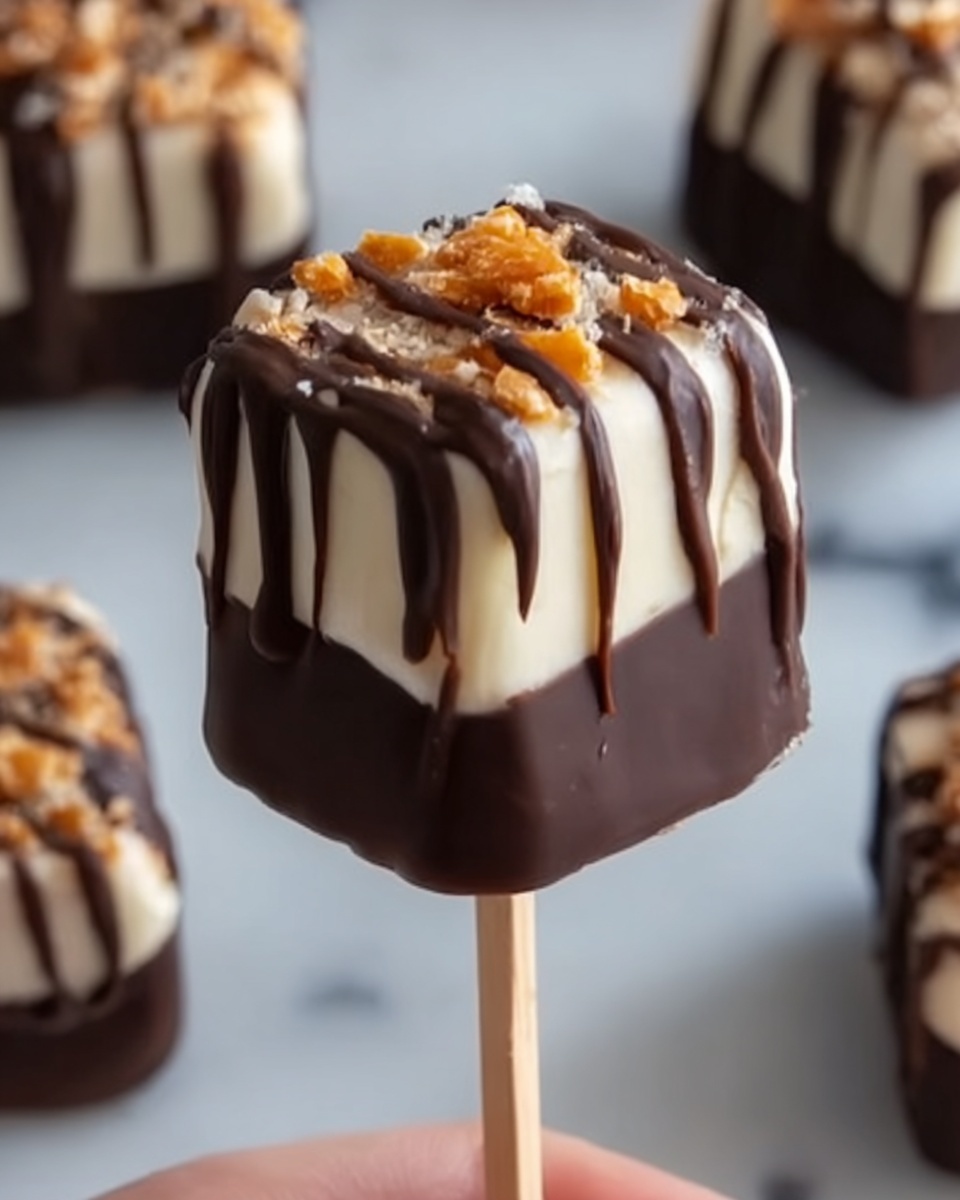
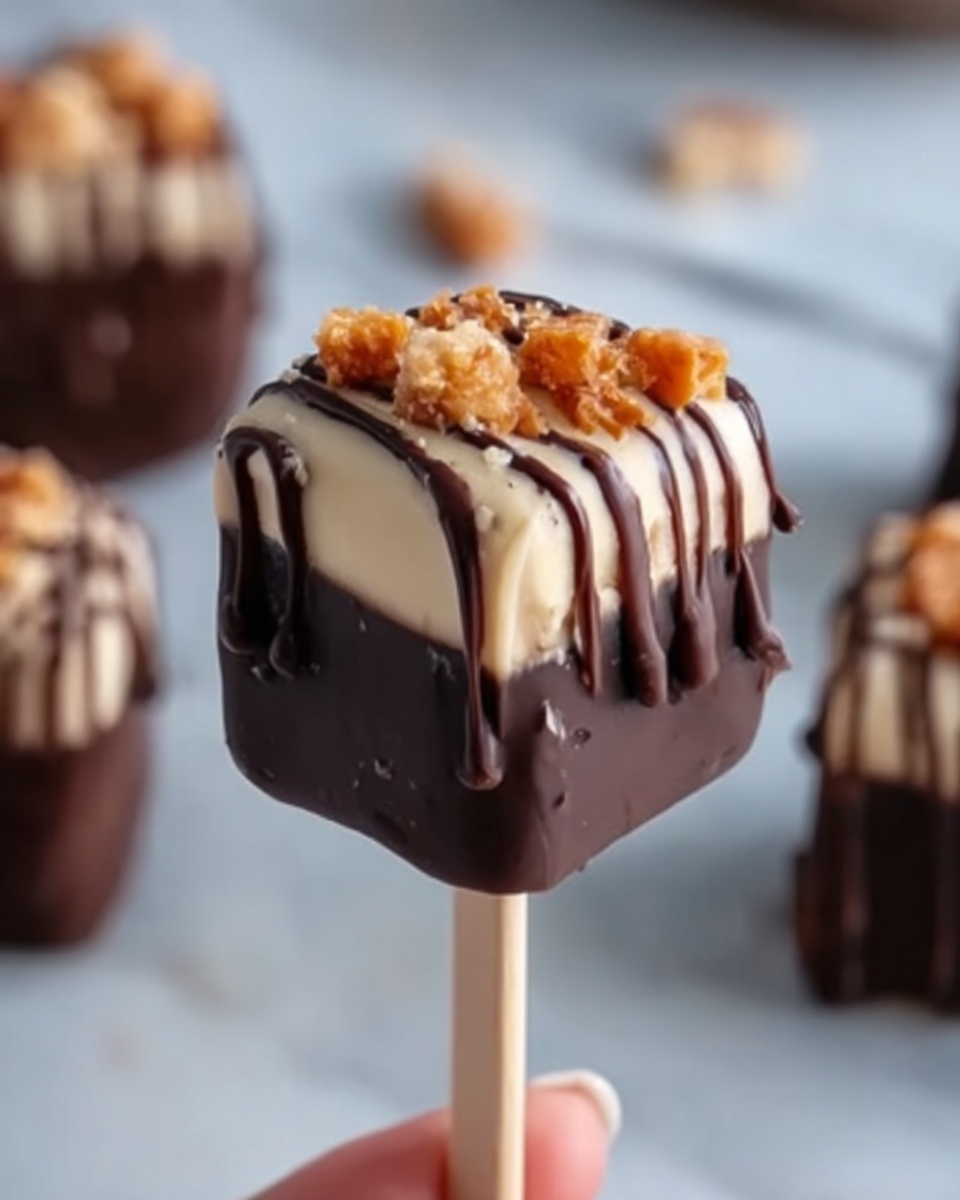
There is something absolutely magical about a treat that is delightful, easy to make, and perfect for sharing—enter the Hocus Pocus Pops Recipe. These charming marshmallow pops dipped in rich milk and creamy white chocolate, then sprinkled with colorful edible glitter, are the perfect whimsical snack for any festive occasion or a fun afternoon treat. With just a handful of simple ingredients and a bit of playful decorating, you’ll have a sweet sensation that’s as much fun to make as it is to eat—trust me, these pops will cast a spell on everyone lucky enough to try them!
Ingredients You’ll Need
This recipe calls for a handful of straightforward, easy-to-find ingredients that come together beautifully. Each one plays a role in delivering texture, flavor, and that magical appearance that makes the Hocus Pocus Pops Recipe stand out.
- Milk chocolate chips: These provide a smooth, rich coating that’s perfectly sweet and melts beautifully.
- White chocolate chips: Offering a creamy contrast to the milk chocolate, they add a snowy, elegant touch.
- Large marshmallows: The soft, pillowy center that makes these pops delightfully chewy.
- Lollipop sticks: Essential for turning marshmallows into adorable handheld treats.
- Assorted sprinkles and edible glitter: These add a burst of color and sparkle, making each pop enchanting and festive.
- Wax paper: To keep your pops from sticking while setting, a small but essential detail.
How to Make Hocus Pocus Pops Recipe
Step 1: Prepare Your Workspace
Start by lining a baking sheet with wax paper. This will be your magic landing spot for the marshmallow pops once they’re dipped, ensuring they don’t stick and remain perfectly shaped as the chocolate hardens.
Step 2: Insert the Lollipop Sticks
Take each marshmallow and gently insert a lollipop stick straight into the center. This step turns your marshmallows into easy-to-handle pops, perfect for festive sharing or just a fun snack on the go.
Step 3: Melt the Chocolate
Place milk chocolate chips in one microwave-safe bowl and white chocolate chips in another. Heat both in 30-second bursts, stirring after each interval, until fully melted and silky smooth. This controlled melting ensures your chocolate won’t burn and will coat the marshmallows perfectly.
Step 4: Dip the Marshmallows
Dip half of the marshmallows into the milk chocolate, gently tapping off any excess chocolate to avoid drips. Place them carefully on your wax paper-lined sheet. Then, dip the remaining marshmallows into the white chocolate, creating a delightful contrast between the two flavors.
Step 5: Decorate with Sprinkles and Glitter
Before the chocolate sets and hardens, sprinkle each pop with your assorted sprinkles and edible glitter. This is where the true magic happens—turning simple chocolate-coated marshmallows into enchanting Hocus Pocus Pops that invite smiles with their sparkle and colors.
Step 6: Chill and Set
Pop the decorated marshmallow pops into the refrigerator for about 15 minutes to allow the chocolate to completely harden. This final step ensures a satisfying snap when you bite in and keeps the decorations perfectly in place.
Step 7: Enjoy Your Creation
Once chilled and firm, your Hocus Pocus Pops are ready to be enjoyed. Whether it’s a Halloween party, a kids’ classroom celebration, or just a moment to bring some whimsy into your day, these pops will enchant everyone.
How to Serve Hocus Pocus Pops Recipe
Garnishes
Adding garnishes like edible glitter or festive sprinkles is a must to enhance both the presentation and the festive feel of your Hocus Pocus Pops. You can even use tiny edible pearls or themed confetti to match a party theme or season.
Side Dishes
Pair these sweet pops with a bowl of fruit salad, spiced nuts, or a cup of warm cider for a well-rounded party spread. Their sweetness is perfectly balanced when enjoyed alongside something fresh or subtly savory.
Creative Ways to Present
Display your pops upright by sticking them into a foam block covered with colorful tissue paper or floral foam wrapped in decorative paper. Wrapping each pop in clear cello bags tied with ribbon adds a professional touch if you’re gifting these treats.
Make Ahead and Storage
Storing Leftovers
If you have any leftover Hocus Pocus Pops, you can store them in an airtight container at room temperature or in the refrigerator. Just be sure to keep them away from humidity and direct sunlight to preserve their texture and shine.
Freezing
These pops freeze well if wrapped individually in plastic wrap and placed in a freezer-safe container. When you want a quick sweet treat later, just thaw them at room temperature for 15–20 minutes before serving.
Reheating
Since these are chocolate-coated marshmallows, reheating is generally unnecessary and not recommended as it may cause melting and loss of decorative sparkle. Enjoy them chilled or at room temperature for the best experience.
FAQs
Can I use different types of chocolate for the coating?
Absolutely! Feel free to experiment with dark chocolate or even flavored melts if you want to customize the flavor. Just keep in mind the melting times may vary slightly.
What if I don’t have edible glitter? What can I use instead?
Sprinkles, colored sugar, or even tiny candy bits work wonderfully if you don’t have edible glitter. They’ll still add color and texture to your Hocus Pocus Pops Recipe.
Can I prepare these pops for a large party in advance?
Yes, making them ahead of time is a great idea. Store them carefully as described to maintain freshness and keep their charm intact until party time.
Are there any allergens I should be aware of?
This recipe contains dairy due to the chocolate and marshmallows, so be mindful of guests with lactose intolerance or allergies. You can look for dairy-free chocolate alternatives if needed.
Do I need any special tools to make the pops?
No special tools are required beyond a microwave-safe bowl, baking sheet, and the lollipop sticks. This simplicity is part of what makes the Hocus Pocus Pops Recipe so delightful to create.
Final Thoughts
There you have it, an irresistibly fun and festive way to brighten up any gathering or just indulge your sweet tooth with the Hocus Pocus Pops Recipe. This charming treat brings out the kid in everyone and adds a sprinkle of magic to your kitchen moments. So grab your chocolate, marshmallows, and sprinkles, and get ready to whip up some enchanting pops that will become a new family favorite in no time!
Print
Hocus Pocus Pops Recipe
- Prep Time: 10 minutes
- Cook Time: 10 minutes
- Total Time: 20 minutes
- Yield: 12 marshmallow pops
- Category: Dessert
- Method: No-Cook
- Cuisine: American
Description
Hocus Pocus Pops are whimsical, delicious marshmallow treats dipped in smooth milk and white chocolate, then sprinkled with colorful decorations. Perfect for parties or magical-themed events, these easy-to-make pops are fun to create with kids and require no baking.
Ingredients
Chocolate Coating
- 1 cup milk chocolate chips
- 1 cup white chocolate chips
Marshmallow Pops
- 12 large marshmallows
- 12 lollipop sticks
- Assorted sprinkles and edible glitter
- Wax paper (for lining)
Instructions
- Prepare the work surface: Line a baking sheet with wax paper and set it aside to prevent sticking and help chocolate-coated pops set evenly.
- Insert sticks: Carefully insert a lollipop stick into each large marshmallow, ensuring it is secure but not pushing through the other side. Set aside the prepared marshmallows.
- Melt chocolates: In two separate microwave-safe bowls, melt the milk chocolate chips and white chocolate chips in 30-second intervals. Stir thoroughly between each interval until the chocolate is completely smooth and melted.
- Coat marshmallows with milk chocolate: Dip half of the marshmallows into the melted milk chocolate, gently tapping each to remove any excess chocolate. Place them on the prepared baking sheet to set.
- Coat marshmallows with white chocolate: Repeat the dipping process with the remaining marshmallows using the melted white chocolate, and place them on the baking sheet as well.
- Decorate: While the chocolate is still soft, sprinkle assorted sprinkles and edible glitter on each marshmallow pop for a festive and magical appearance.
- Chill to set: Place the decorated marshmallow pops in the refrigerator for about 15 minutes or until the chocolate coating is fully hardened and set.
- Serve and enjoy: Once the chocolate is hardened, remove the pops from the refrigerator and serve immediately for a delightful treat.
Notes
- Use good-quality chocolate chips for a smoother and richer coating.
- If chocolate thickens during melting, add a teaspoon of vegetable oil to help thin it out.
- Be gentle when inserting sticks to avoid breaking the marshmallows.
- You can customize decorations with themed sprinkles for holidays or events.
- Store leftover pops in an airtight container in the refrigerator for up to 3 days.

