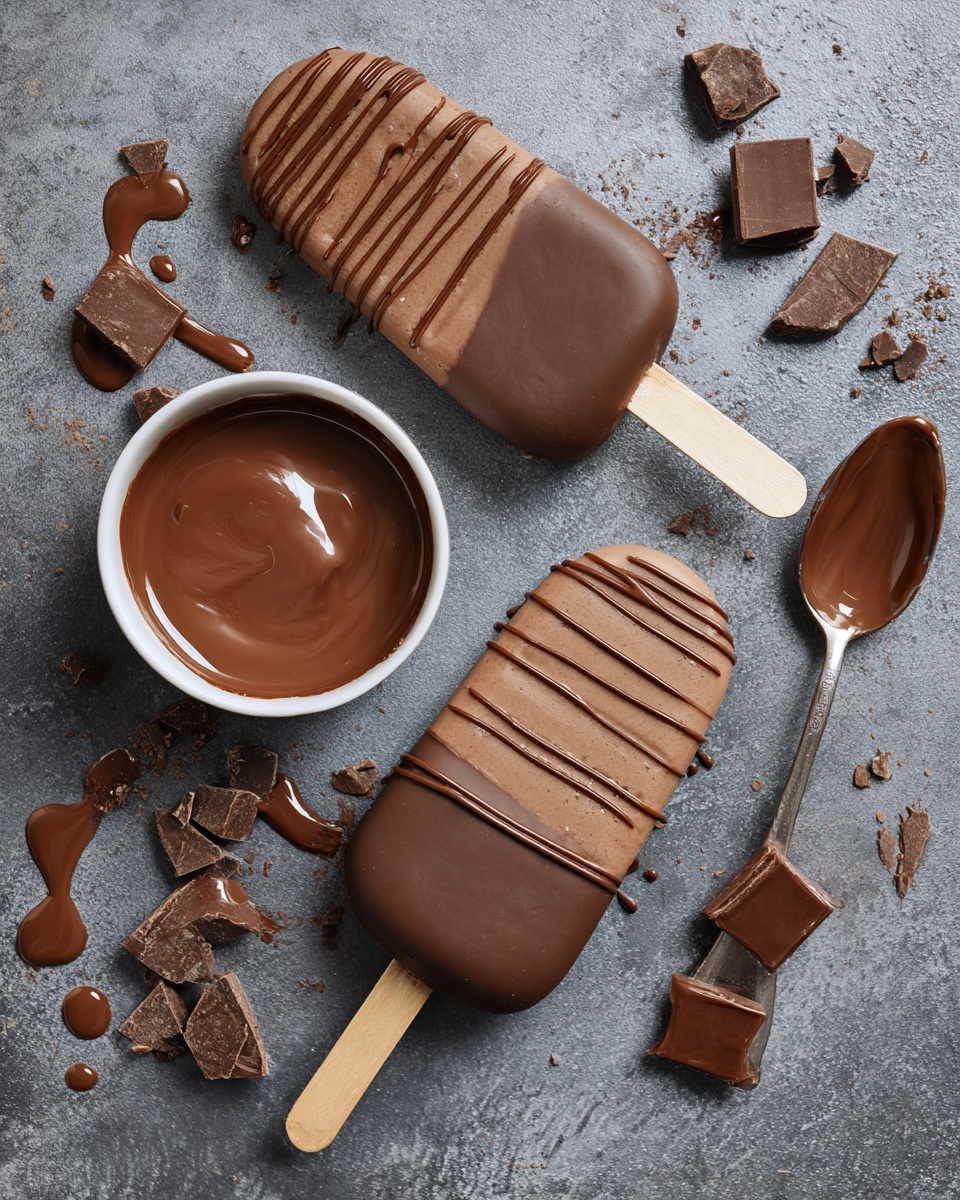
If you are craving a homemade treat that delivers rich, creamy, and deeply chocolatey flavor, this Chocolate Ice Cream Bars Recipe is going to be your new best friend. These bars combine the luscious texture of a classic frozen dessert with the satisfying snap of a chocolate shell, making every bite a joyful experience. Perfect as a summer refreshment or a decadent anytime indulgence, this recipe shows you how to create irresistible ice cream bars that feel like a special occasion right from your own freezer.
Ingredients You’ll Need
Gathering the right ingredients is key to nailing this delicious Chocolate Ice Cream Bars Recipe. Each component is simple yet plays an essential role in building texture, richness, and that perfect balance of flavors that makes these bars so unforgettable.
- 2 cups heavy cream: Provides the creamy, rich base that’s essential for that smooth ice cream texture.
- 1 cup whole milk: Lightens the mixture slightly while keeping it silky and smooth.
- 3/4 cup granulated sugar: Sweetens the ice cream perfectly without overpowering the chocolate.
- 1/3 cup unsweetened cocoa powder: Adds deep, intense chocolate flavor and gorgeous color.
- 1 teaspoon vanilla extract: Enhances the chocolate flavor with a warm, aromatic note.
- 1/2 teaspoon salt: Balances sweetness and enriches the overall flavor profile.
- 2 cups semi-sweet chocolate chips: Used both inside for richness and melted outside for the crunchy coating.
- 2 tablespoons coconut oil: Helps the chocolate coating harden beautifully and adds slight tropical flair.
- Optional toppings: Crushed nuts, sprinkles, or shredded coconut to add texture and extra fun.
How to Make Chocolate Ice Cream Bars Recipe
Step 1: Prepare the Ice Cream Base
Start by whisking together heavy cream, whole milk, sugar, cocoa powder, and salt in a medium saucepan over medium heat. Stir constantly as the mixture gently warms, becoming smooth and just beginning to steam—this usually takes about 5 to 7 minutes. Removing it from heat at this stage ensures the sugars dissolve completely without cooking the cream. Stir in the vanilla extract for a fragrant boost, then let the mixture cool slightly before moving to the next step.
Step 2: Freeze the Mixture in Molds
Once your chocolate mixture has cooled down a bit, pour it carefully into your ice cream bar molds. Insert sticks into each mold, making sure they stand upright. Freeze the molds for at least 6 hours or overnight to set fully; patience here rewards you with perfectly firm bars that are easy to unmold.
Step 3: Prepare the Chocolate Coating
While the bars are solidifying, melt the semi-sweet chocolate chips with coconut oil in a heatproof bowl. Use a double boiler or microwave in short bursts, stirring until you have a glossy, smooth chocolate coating ready for dipping. This ensures your bars will have that crisp, satisfying outer shell.
Step 4: Dip and Decorate
Remove the ice cream bars from their molds and immediately dip each bar into the melted chocolate, giving it a quick, complete coat. Let the excess drip back into the bowl, then place each bar on a parchment-lined baking sheet. Add your choice of crushed nuts, colorful sprinkles, or shredded coconut to the wet chocolate right away so the toppings stick perfectly. Pop the bars back into the freezer for 10 to 15 minutes so the coating can set solid.
How to Serve Chocolate Ice Cream Bars Recipe

Garnishes
Elevate your Chocolate Ice Cream Bars Recipe by adding a variety of garnishes like toasted almonds for crunch, rainbow sprinkles for fun, or a sprinkle of flaky sea salt to enhance that chocolatey depth. Each garnish not only beautifies the bars but also adds delightful flavor nuances.
Side Dishes
Serve these ice cream bars alongside fresh berries or a warm fruit compote to balance the rich chocolate with a burst of freshness and natural sweetness. A small glass of cold milk or coffee can also be the perfect pairing, making your dessert feel thoughtfully complete.
Creative Ways to Present
For special occasions, try arranging the chocolate ice cream bars on a decorative platter with a drizzle of raspberry coulis around them or chopped nuts sprinkled with edible flowers. You could also wrap them individually in parchment paper tied with twine for a charming gift idea. Presentation can transform these simple bars into an impressive treat.
Make Ahead and Storage
Storing Leftovers
Keep any leftover Chocolate Ice Cream Bars Recipe treats stored in an airtight container in the freezer to preserve their freshness and texture. This way, you can enjoy them anytime without worrying about freezer burn or flavor loss.
Freezing
The bars freeze beautifully and can be made up to two weeks in advance. Just make sure to keep them well wrapped or in a sealed container to prevent ice crystals from forming and to maintain their perfect creamy texture.
Reheating
Since these bars are best served cold, reheating isn’t necessary. However, if your chocolate shell gets too hard straight from the freezer, letting the bars sit for a few minutes at room temperature will soften them up to the ideal consistency for enjoying.
FAQs
Can I make these bars dairy-free?
Absolutely! Substitute the heavy cream with coconut cream and use almond milk instead of whole milk to create a delicious dairy-free version without sacrificing the creamy texture.
How long do the chocolate ice cream bars last in the freezer?
Stored properly in an airtight container, these bars can stay fresh and flavorful for up to 2 weeks.
Can I add mix-ins to the ice cream base?
Yes! You can stir in small chunks of chocolate, nuts, or even mini marshmallows before freezing for added texture and fun flavor surprises.
Is there a way to make the chocolate coating thicker?
To achieve a thicker shell, dip the bars twice, allowing the first layer to set before applying the second coating.
Can I use different types of chocolate chips?
Of course! Feel free to experiment with dark, milk, or white chocolate chips, depending on your preference for sweetness and intensity.
Final Thoughts
This Chocolate Ice Cream Bars Recipe is one of those joyful creations that makes you feel like a kitchen superstar without any complicated steps. Rich, creamy, and customizable, it’s the perfect way to turn simple ingredients into a memorable dessert that friends and family will adore. I can’t wait for you to try it and make it your own—happy freezing!
Print
Chocolate Ice Cream Bars Recipe
- Prep Time: 15 minutes
- Cook Time: 10 minutes
- Total Time: 25 minutes plus freezing time
- Yield: 8 bars
- Category: Dessert
- Method: Freezer
- Cuisine: American
- Diet: Vegetarian
Description
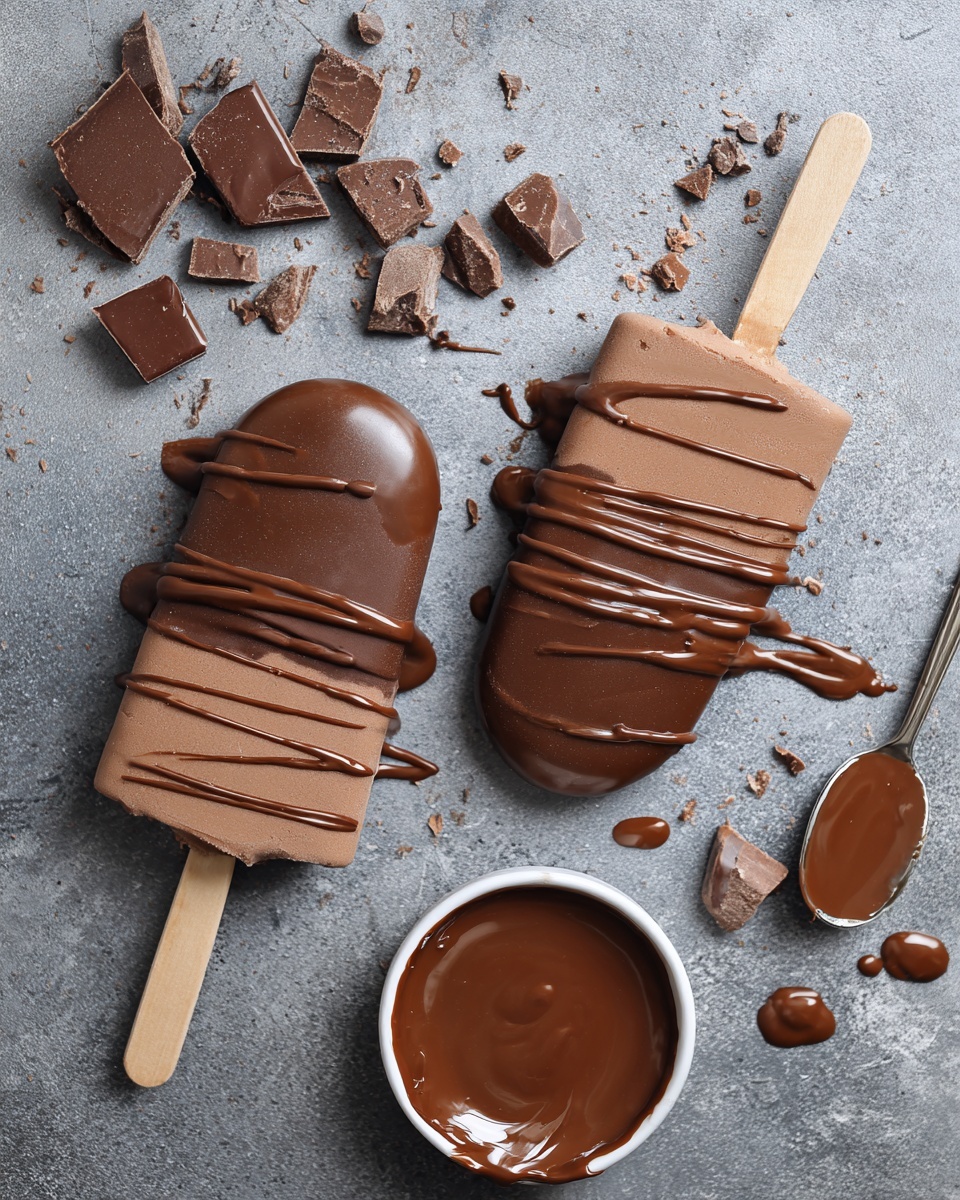
These homemade Chocolate Ice Cream Bars are a rich and creamy frozen dessert perfect for summer treats. Made with a smooth chocolate ice cream base and coated in a luscious chocolate shell, they are easy to prepare and customizable with your favorite toppings.
Ingredients
Ice Cream Base
- 2 cups heavy cream
- 1 cup whole milk
- 3/4 cup granulated sugar
- 1/3 cup unsweetened cocoa powder
- 1 teaspoon vanilla extract
- 1/2 teaspoon salt
Chocolate Coating & Toppings
- 2 cups semi-sweet chocolate chips
- 2 tablespoons coconut oil (for coating)
- Optional toppings: crushed nuts, sprinkles, or shredded coconut
Instructions
- Prepare the Ice Cream Mixture: In a medium saucepan, whisk together the heavy cream, whole milk, granulated sugar, unsweetened cocoa powder, and salt over medium heat. Stir constantly until the mixture is smooth and just begins to steam, about 5 to 7 minutes.
- Finish the Base: Remove the saucepan from heat and stir in the vanilla extract. Allow the mixture to cool slightly to room temperature.
- Freeze the Ice Cream Bars: Pour the cooled chocolate ice cream mixture into ice cream bar molds and insert sticks. Place molds in the freezer for at least 6 hours or overnight until completely solid.
- Prepare the Chocolate Coating: Melt the semi-sweet chocolate chips and coconut oil together in a heatproof bowl over a double boiler or in short bursts in the microwave. Stir continuously until the chocolate is smooth and fully melted.
- Coat the Ice Cream Bars: Remove the frozen ice cream bars carefully from the molds. Quickly dip each bar into the melted chocolate, allowing any excess to drip off.
- Add Toppings and Set: Place the coated bars on a parchment-lined baking sheet. Immediately sprinkle any optional toppings such as crushed nuts, sprinkles, or shredded coconut. Return the bars to the freezer for 10 to 15 minutes to let the chocolate shell harden before serving.
Notes
- For a dairy-free alternative, substitute coconut cream and almond milk for the heavy cream and whole milk.
- Add a pinch of instant espresso powder to the ice cream base to enhance the chocolate flavor.
- Store bars in an airtight container in the freezer for up to 2 weeks to maintain freshness.


