
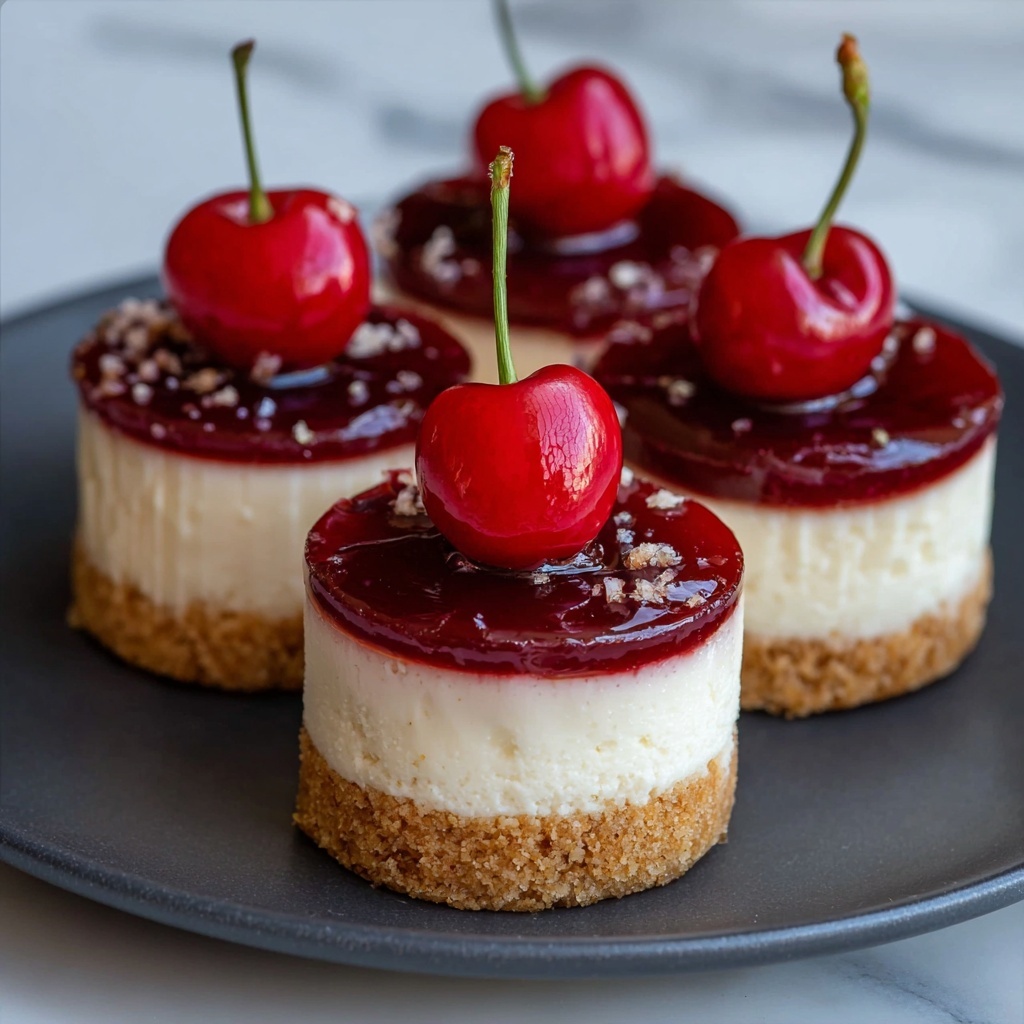
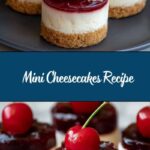
If you’re looking for a dessert that’s both irresistibly creamy and perfectly portioned, this Mini Cheesecakes Recipe will become your new favorite go-to treat. These delightful bite-sized cheesecakes showcase a buttery graham cracker crust topped with a luscious, tangy cream cheese filling that’s gently baked to silky perfection. Whether you’re hosting a party or just craving a sweet indulgence, these little gems promise big flavor in every single bite.
Ingredients You’ll Need
Gathering the ingredients for this Mini Cheesecakes Recipe is wonderfully straightforward, and each element plays a crucial role in delivering that signature rich taste and silky texture. From the crumbly, buttery crust to the smooth, creamy filling, these essentials work harmoniously to create a dessert you’ll want to make again and again.
- 1 1/2 cups graham cracker crumbs: Provides a crisp, slightly sweet base that contrasts beautifully with the creamy filling.
- 1/4 cup granulated sugar: Sweetens the crust just enough to enhance the graham cracker flavor without overpowering.
- 6 tablespoons unsalted butter, melted: Binds the crust ingredients and adds a rich, buttery depth.
- 16 ounces cream cheese, softened: The star component that gives the cheesecake its iconic creamy and tangy character.
- 1/2 cup granulated sugar: Sweetens the filling and balances the cream cheese’s tang.
- 2 large eggs: Provides structure and a silky texture when baked.
- 1 teaspoon vanilla extract: Adds warmth and enhances the overall flavor profile.
- 1/2 cup sour cream: Delivers extra creaminess and a subtle tang, enriching the filling’s texture.
- 1 tablespoon lemon juice: Brightens the filling with a fresh zing that keeps it lively.
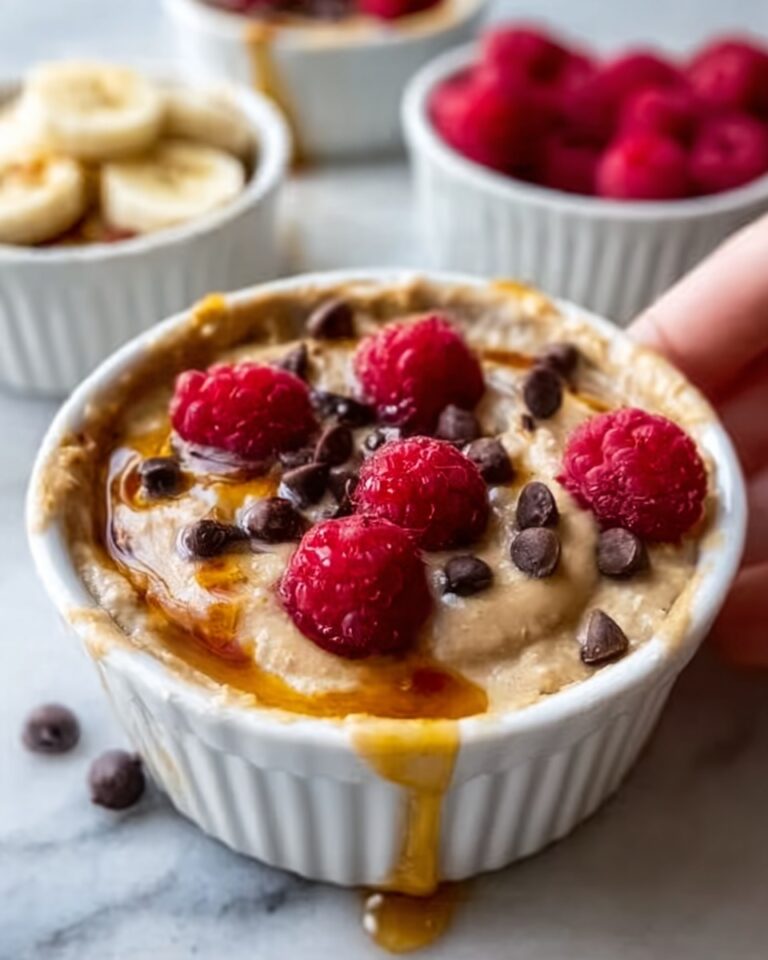
- Fresh berries or fruit topping (optional): Adds a juicy, colorful finish that complements the richness perfectly.
How to Make Mini Cheesecakes Recipe
Step 1: Prepare the Crust
Start by preheating your oven to 325°F and lining a 12-cup muffin tin with paper liners. In a small bowl, mix the graham cracker crumbs, 1/4 cup sugar, and melted butter until the mixture resembles wet sand. Press roughly one tablespoon of this mixture firmly into the bottom of each muffin cup to create a sturdy, flavorful crust that sets the stage for the creamy filling.
Step 2: Make the Cream Cheese Filling
In a large bowl, beat the softened cream cheese until it’s completely smooth and free of lumps. Then, add 1/2 cup sugar, continuing to beat until the mixture becomes creamy and luscious. Incorporate the eggs one at a time, ensuring each is fully blended before adding the next. Finally, stir in the vanilla extract, sour cream, and lemon juice to create a silky batter that’s bursting with flavor.
Step 3: Assemble and Bake
Distribute the cream cheese mixture evenly over the crusts in your prepared muffin tin, filling each about three-quarters full. Bake in your preheated oven for 18 to 22 minutes, keeping a close eye on them—they should be just set on top with a slight jiggle in the center. This perfect balance ensures a creamy interior without being overly dense.
Step 4: Cool and Chill
Once baked, take the mini cheesecakes out of the oven and let them cool to room temperature right in the pan. Afterward, transfer them to the refrigerator and chill for at least two hours. This chilling step is vital for achieving that signature firm, yet creamy texture that makes these mini cheesecakes so delightful.
Step 5: Add Toppings
Before serving, top each mini cheesecake with fresh berries or your favorite fruit topping for a vibrant burst of color and natural sweetness that perfectly complements the tangy richness underneath.
How to Serve Mini Cheesecakes Recipe

Garnishes
Fresh berries such as strawberries, blueberries, or raspberries are a classic and exquisite choice to garnish your mini cheesecakes. Not only do they add a pop of color, but their juicy acidity balances the richness of the cheesecake perfectly. For an extra touch of elegance, consider sprinkling some finely chopped nuts or a drizzle of chocolate sauce.
Side Dishes
While mini cheesecakes stand beautifully on their own, pairing them with a light cup of coffee or herbal tea can elevate the dessert experience. If you want to add another layer of flavor, a small scoop of vanilla or berry sorbet serves as a refreshing side that complements the creamy cheesecakes beautifully.
Creative Ways to Present
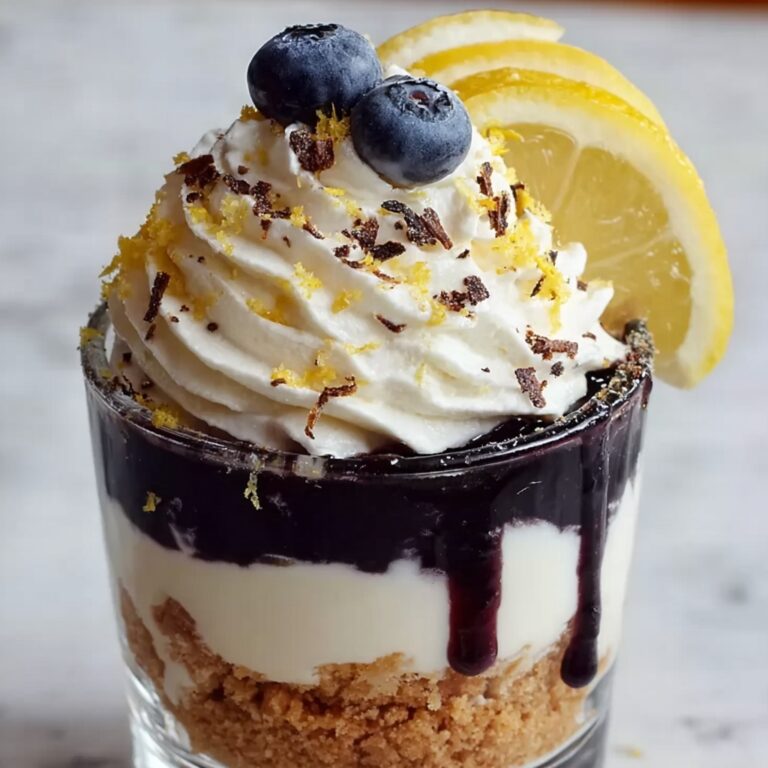
For a charming presentation, arrange your mini cheesecakes on a decorative platter lined with fresh mint leaves or edible flowers. Another fun idea is serving them in individual clear mini cups with a dollop of whipped cream and a berry on top, transforming the dessert into a stunning, elegant treat that guests won’t be able to resist.
Make Ahead and Storage
Storing Leftovers
Leftover mini cheesecakes are best stored covered in the refrigerator to maintain their creamy texture and freshness. You can keep them for up to four days, making it easy to prepare ahead for gatherings or satisfy your sweet tooth throughout the week without any fuss.
Freezing
These mini cheesecakes also freeze wonderfully if you want to batch-make them for future occasions. Wrap each cheesecake individually in plastic wrap and then place them in an airtight container or freezer bag. They will keep well in the freezer for up to two months. When ready to enjoy, thaw them overnight in the refrigerator.
Reheating
Since these mini cheesecakes are best enjoyed chilled, reheating isn’t necessary. However, if you prefer them at room temperature, simply leave them out for 15 to 20 minutes before serving, allowing the flavors to open up nicely without sacrificing that creamy texture.
FAQs
Can I make mini cheesecakes without sour cream?
Yes, you can omit sour cream if needed, but it adds a lovely tang and creaminess that make the filling more tender. You could substitute with Greek yogurt for a similar effect.
How do I prevent cracks from forming on my mini cheesecakes?
To avoid cracks, be sure not to overbeat the batter, and bake at a moderate temperature. Cooling the cheesecakes gradually and chilling them before serving also helps maintain a smooth top.
Can I use a store-bought pie crust instead of making a graham cracker crust?
You can, but the graham cracker crust offers a classic flavor that perfectly complements the cheesecake. Store-bought options might alter the texture and sweetness, but it’s a convenient alternative.
What’s the best way to remove the mini cheesecakes from the muffin tin?
Using paper liners makes removal easy and neat. If you’re not using liners, gently run a thin knife around the edges and carefully lift them out with a small spatula or spoon.
Can I add flavors like chocolate or fruit to this Mini Cheesecakes Recipe?
Absolutely! You can fold in cocoa powder for a chocolate twist or swirl in fruit preserves before baking to create your personalized version of these tasty treats.
Final Thoughts
This Mini Cheesecakes Recipe is a true winner for any occasion, combining simplicity and elegance in one delicious bite. I guarantee once you try these rich, creamy morsels, they’ll become a staple in your dessert lineup. So grab your ingredients and start baking; these charming little cheesecakes are destined to steal the show!
Print
Mini Cheesecakes Recipe
- Prep Time: 20 minutes
- Cook Time: 20 minutes
- Total Time: 2 hours 40 minutes
- Yield: 12 mini cheesecakes
- Category: Dessert
- Method: Baking
- Cuisine: American
- Diet: Vegetarian
Description
These mini cheesecakes are a perfect bite-sized dessert with a creamy, smooth filling and a buttery graham cracker crust. Easy to make and ideal for parties or as a sweet treat, they can also be customized with chocolate or fruit variations.
Ingredients
Crust
- 1 1/2 cups graham cracker crumbs
- 1/4 cup granulated sugar
- 6 tablespoons unsalted butter, melted
Filling
- 16 ounces cream cheese, softened
- 1/2 cup granulated sugar
- 2 large eggs
- 1 teaspoon vanilla extract
- 1/2 cup sour cream
- 1 tablespoon lemon juice
Topping (optional)
- Fresh berries or fruit topping
Instructions
- Preheat and prepare muffin tin: Preheat the oven to 325°F. Line a 12-cup muffin tin with paper liners to prevent sticking and make removal easier.
- Make the crust: In a small bowl, combine the graham cracker crumbs, 1/4 cup sugar, and melted butter. Mix until the crumbs are moistened. Press approximately 1 tablespoon of this mixture into the bottom of each muffin cup to form an even crust layer.
- Prepare the filling: In a large bowl, beat the softened cream cheese until smooth using an electric mixer. Add 1/2 cup sugar and continue beating until creamy and well combined.
- Add eggs and flavorings: Mix in the eggs one at a time, beating after each addition. Then stir in the vanilla extract, sour cream, and lemon juice until the mixture is smooth and homogenous.
- Fill muffin cups: Pour the cream cheese mixture evenly over the crusts, filling each muffin cup about 3/4 full to allow room for slight rising during baking.
- Bake cheesecakes: Bake in the preheated oven for 18 to 22 minutes, or until the centers are just set but still slightly jiggly when gently shaken.
- Cool and chill: Remove from oven and allow mini cheesecakes to cool to room temperature. Once cooled, refrigerate for at least 2 hours to firm up and develop the flavors.
- Add toppings and serve: Before serving, top each mini cheesecake with fresh berries or your choice of fruit topping for added flavor and presentation.
Notes
- For flavored variations, add 2 tablespoons of cocoa powder to the filling for chocolate mini cheesecakes.
- Swirl fruit preserves into the filling before baking for a fruity twist.
- Store leftovers covered in the refrigerator for up to 4 days to maintain freshness.

