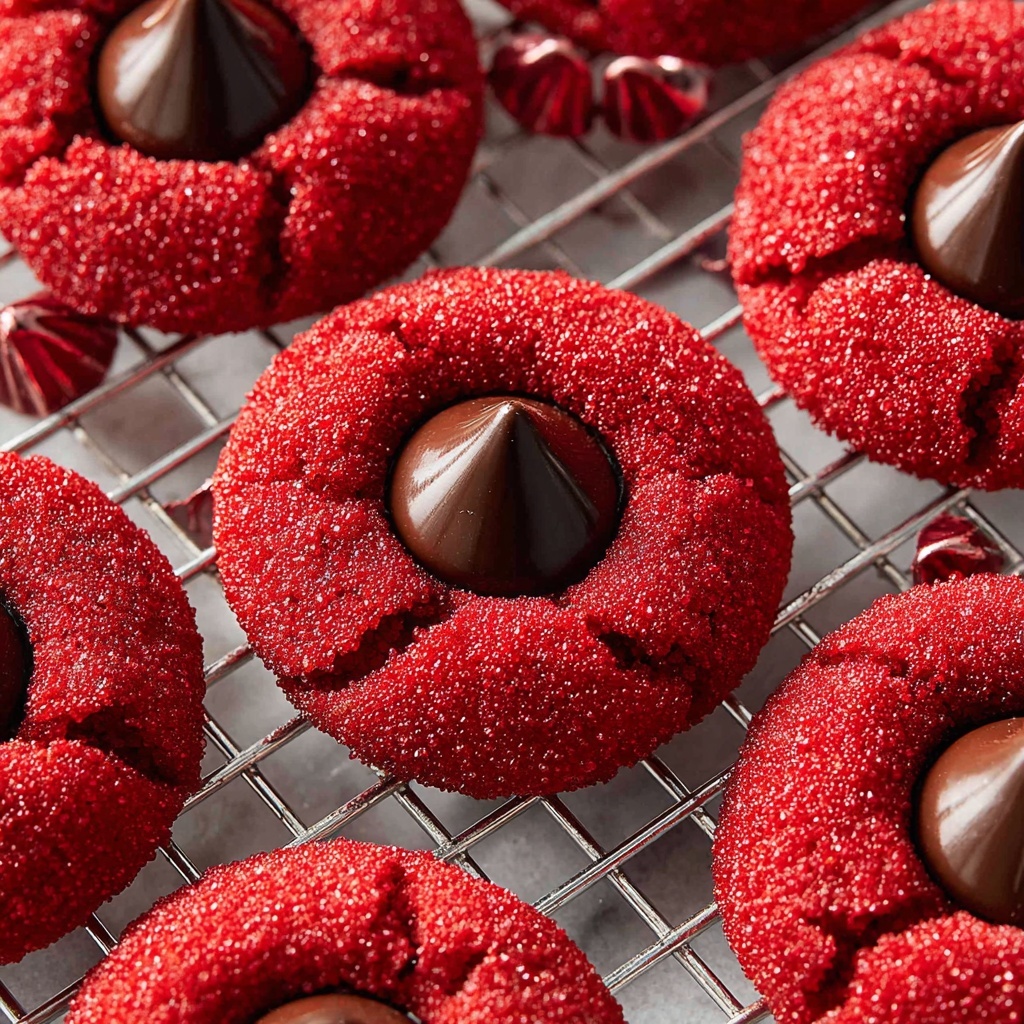
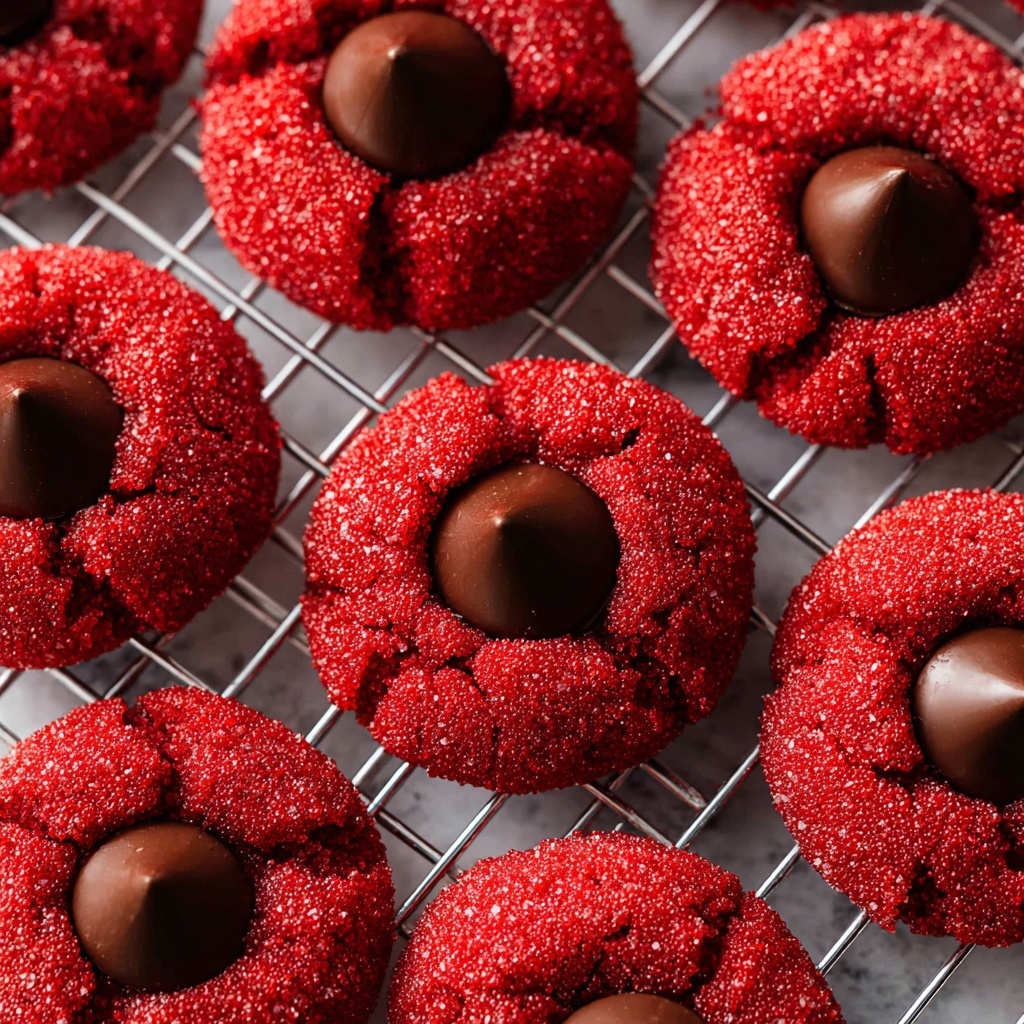
If you’re craving a cookie that’s bursting with flavor, color, and a little surprise in the center, this Red Velvet Blossom Cookies Recipe will absolutely steal your heart. These soft, cake-like cookies with a perfectly sugary crust and a chocolate kiss nestled right in the middle offer the kind of cozy indulgence that feels like a warm hug. Whether you’re baking for a festive occasion or simply want to brighten your day, these cookies blend the rich, velvety charm of red velvet with a charming twist that makes every bite unforgettable.
Ingredients You’ll Need
Gathering the right ingredients is key to making these Red Velvet Blossom Cookies shine. Each component plays a special role, from delivering that iconic red velvet flavor to bringing moistness, texture, and the final chocolate surprise.
- Red velvet cake mix (1 box, 15.25 oz.): The base that brings classic red velvet flavor and vibrant color with ease.
- Large eggs (2): Help bind the ingredients and contribute to a tender crumb.
- Unsalted butter (½ cup, melted): Adds richness and keeps the cookies perfectly moist.
- Vanilla extract (1 tsp): Enhances the flavor and brings a subtle sweetness.
- Espresso powder (½ tsp, optional): A little secret ingredient that intensifies the chocolate notes without making the cookies taste like coffee.
- Regular or coarse sugar (1 cup): For rolling the cookie dough balls, creating a delightful sugary crust.
- Hershey’s Kiss candies (24 pieces): The star of the show, these chocolates nestle into the cookie centers, melting slightly for that signature blossom effect.
How to Make Red Velvet Blossom Cookies Recipe
Step 1: Mix the Wet Ingredients
Start by whisking together the eggs, melted butter, and vanilla extract until everything is smoothly combined. This creates a rich, luscious base that will keep your cookies soft and flavorful.
Step 2: Combine with Dry Ingredients
Next, add in the red velvet cake mix and the optional espresso powder. Stir everything until you have a uniform dough. The espresso powder is a subtle enhancer that really makes the red velvet flavor pop, but you can skip it if you prefer.
Step 3: Chill the Dough
Cover the dough and chill it in the fridge for about 30 minutes. This step is essential because it firms up the dough, making it easier to roll into neat balls and ensuring your cookies keep their shape as they bake.
Step 4: Form and Sugar Coat the Balls
Once chilled, roll the dough into 1½ inch balls. Then, roll each ball in the sugar to coat it completely. This sugar coating will add a pleasant crunch and shimmer to each cookie’s exterior.
Step 5: Bake and Add the Candy
Place the sugared dough balls on a baking sheet preheated to 350°F, spacing them apart to allow for spreading. Bake for about 8 to 10 minutes, watching for the edges to set and the tops to puff and just start to crinkle. Once out of the oven, gently press a Hershey’s Kiss candy into the center of each cookie. Let them cool completely to set the chocolate.
Step 6: Cool and Set
If you’re using a Hugs candy kiss, note that it will slightly melt into the cookie, creating a lovely swirled effect. To keep the candy more intact, pop the cookies into the fridge or freezer soon after adding the candy. Regular chocolate kisses tend to hold their shape nicely if left untouched until fully cooled.
How to Serve Red Velvet Blossom Cookies Recipe

Garnishes
For an extra pop, sprinkle a little powdered sugar or edible glitter lightly over the cookies before serving. Fresh mint leaves can add a refreshing contrast, or a drizzle of white chocolate can elevate the look and flavor even more.
Side Dishes
This Red Velvet Blossom Cookies Recipe pairs wonderfully with a cold glass of milk, a creamy hot chocolate, or a cup of your favorite coffee or tea. For a special treat, serve alongside a scoop of vanilla or cream cheese ice cream for a decadent dessert experience.
Creative Ways to Present
Arrange the cookies in a festive tin lined with parchment paper, or stack them neatly on a cake stand for a party-ready display. Wrapping them up in colorful cellophane bags tied with ribbon also makes for charming homemade gifts that friends and family will adore.
Make Ahead and Storage
Storing Leftovers
You can keep leftover Red Velvet Blossom Cookies fresh by storing them in an airtight container at room temperature. They usually stay soft and delicious for up to 5 days. Make sure to keep them separate from any strong-smelling foods to preserve their delicate flavor.
Freezing
If you want to prepare these cookies in advance, freezing is a great option. Freeze the unbaked dough balls on a tray first, then transfer them to a ziplock bag or airtight container. When ready to bake, simply add a couple of extra minutes to the baking time. You can also freeze fully baked cookies in a sealed container for up to 3 months.
Reheating
To enjoy your cookies warm and melty, pop them in a preheated oven at 300°F for about 5 minutes or microwave them for 10-15 seconds. This brings back the cake-like softness and gives the chocolate kiss that irresistible gooey texture.
FAQs
Can I use a different type of cake mix?
While red velvet cake mix is essential for that signature flavor and color in this Red Velvet Blossom Cookies Recipe, you can experiment with other cake mix flavors if you’re feeling adventurous, but the results will vary significantly from the classic taste.
What if I don’t have espresso powder?
The espresso powder is completely optional and serves to deepen the chocolate flavor. If you don’t have it, simply omit it—your cookies will still be deliciously rich and red velvet-y.
Why do I need to chill the dough?
Chilling firms up the dough, which helps make rolling easier and prevents the cookies from spreading too much in the oven, resulting in perfectly shaped blossom cookies.
Can I use different chocolates instead of Hershey’s Kisses?
Absolutely! You can use other mini chocolate candies or even flavored kisses like caramel or mint to put a unique spin on your cookies. Just remember that some candies melt differently, which can affect the final look.
How should I store these cookies if I want to keep the chocolate from melting?
Storing your cookies in the fridge or freezer after the chocolate has set helps keep the chocolate from melting further. This is especially useful if you’re dealing with softer candy varieties like Hugs.
Final Thoughts
If you’re searching for a delightful and visually stunning treat, the Red Velvet Blossom Cookies Recipe is a surefire winner. It’s easy to make but delivers on every level—color, flavor, and that charming little chocolate surprise that makes everyone smile. I can’t wait for you to try this recipe and share it with everyone you love because these cookies truly bring joy with every bite.
Print
Red Velvet Blossom Cookies Recipe
- Prep Time: 10 minutes
- Cook Time: 10 minutes
- Total Time: 50 minutes
- Yield: 24 cookies
- Category: Dessert
- Method: Baking
- Cuisine: American
Description
Deliciously rich and festive Red Velvet Blossom Cookies made from red velvet cake mix, topped with a classic Hershey’s Kiss for a perfect holiday treat. These cookies are soft, slightly chewy, and coated in sugar for extra sweetness and crunch.
Ingredients
Main Ingredients
- 1 box red velvet cake mix (15.25 oz.)
- 2 large eggs
- ½ cup unsalted butter (melted)
- 1 tsp vanilla extract
- ½ tsp espresso powder (optional)
- 1 cup regular or coarse sugar
- 24 Hershey’s Kiss candies (or other mini chocolate candy)
Instructions
- Mix Wet Ingredients: Whisk together the eggs, melted butter, and vanilla extract in a large bowl until combined smoothly.
- Combine with Dry Ingredients: Add the red velvet cake mix and espresso powder if using, then stir until the dough is fully incorporated and uniform in color and texture.
- Chill the Dough: Cover the dough and chill in the refrigerator for about 30 minutes to make it easier to handle and roll into balls.
- Form and Coat Cookies: Preheat the oven to 350°F (175°C). Once chilled, roll the dough into 1½ inch balls and roll each ball in the sugar to coat evenly.
- Bake the Cookies: Place the sugar-coated dough balls on a baking sheet lined with parchment paper or a silicone mat. Bake for 8-10 minutes, until the edges start to set, and the cookies are puffed and just beginning to crinkle.
- Add Chocolate Kisses: Remove the cookies from the oven and gently press a Hershey’s Kiss or your choice of mini chocolate candy into the center of each cookie. Allow the cookies to cool completely on the baking sheet before serving.
- Optional Cooling Tip: If using Hugs candy kisses, which tend to melt and lose their shape, transfer the cookies to the fridge or freezer until the chocolate sets to prevent melting into the cookie. Regular chocolate kisses set nicely if left untouched until cool.
Notes
- Using espresso powder is optional but enhances the chocolate flavor depth.
- For best texture, chill the dough before baking.
- Coating cookie dough balls in sugar adds a delightful crunch and a festive sparkle.
- If you prefer, other mini chocolates can replace Hershey’s Kisses.
- Allow cookies to cool completely to ensure the chocolate centers set properly.
- Store cookies in an airtight container at room temperature for up to 3 days or freeze for longer storage.


